How to Build a Raised Garden Bed Step by Step
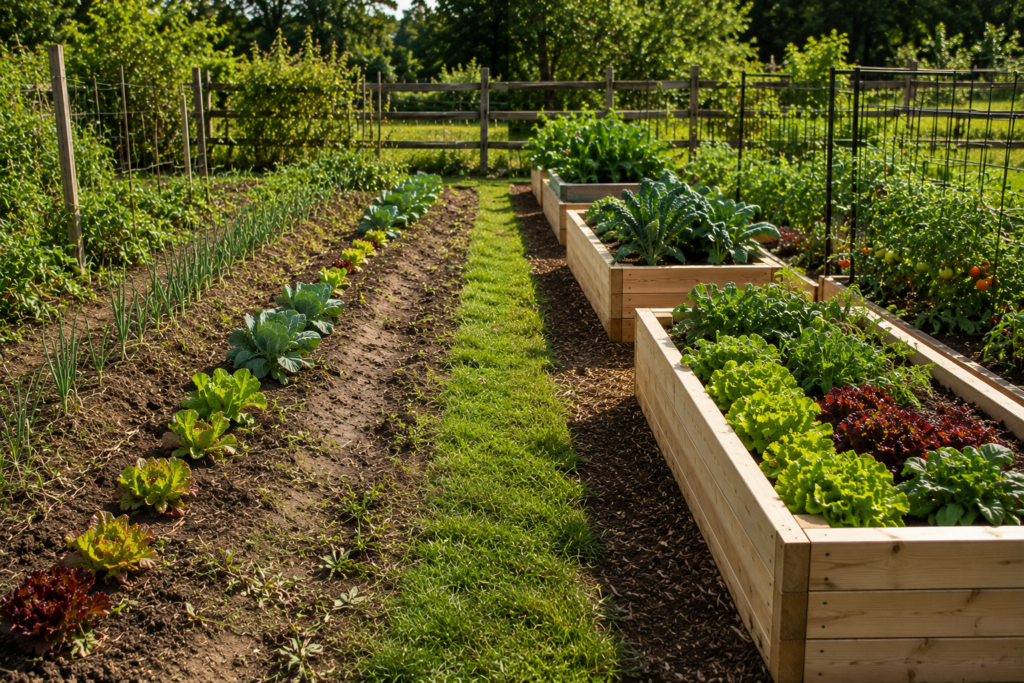
A raised garden bed is the single best investment you can make in your vegetable garden. Better soil. Fewer weeds. Warmer in spring. Easier to maintain. And harvesting at waist height instead of bending to the ground is a benefit you don’t appreciate until you’ve tried it.
The good news: building one doesn’t require advanced carpentry skills. With basic tools and an afternoon of work, you can build a bed that will last for a decade or more.
This guide walks through everything — material choices, dimensions, assembly, filling, and placement — so you build it right the first time.
Why Build a Raised Bed Instead of Growing In-Ground?
Before diving into construction, it’s worth understanding why raised beds outperform traditional garden rows.
Better soil control. You fill the bed with exactly the soil mix your vegetables need. No fighting clay, rocks, or compaction. No guessing what’s in the ground.
Earlier planting. Raised soil warms faster in spring because it’s above ground level and exposed to more sunlight. This means you can plant two to four weeks earlier than in-ground gardens.
Improved drainage. Vegetables hate wet feet. Raised beds drain excess water quickly, preventing root rot and other moisture-related diseases.
Fewer weeds. A raised bed starts weed-free. And because you’re not walking through the bed, you’re not compacting the soil or bringing in weed seeds from other parts of the yard.
Easier maintenance. At 12–24 inches tall, a raised bed is easier to plant, weed, water, and harvest without constant bending or kneeling.
Longer growing season. The same warmth that helps in spring also extends your fall season. The soil stays warmer longer into autumn.
Choosing the Right Material
The material you choose affects cost, lifespan, and safety. Here are the most common options.
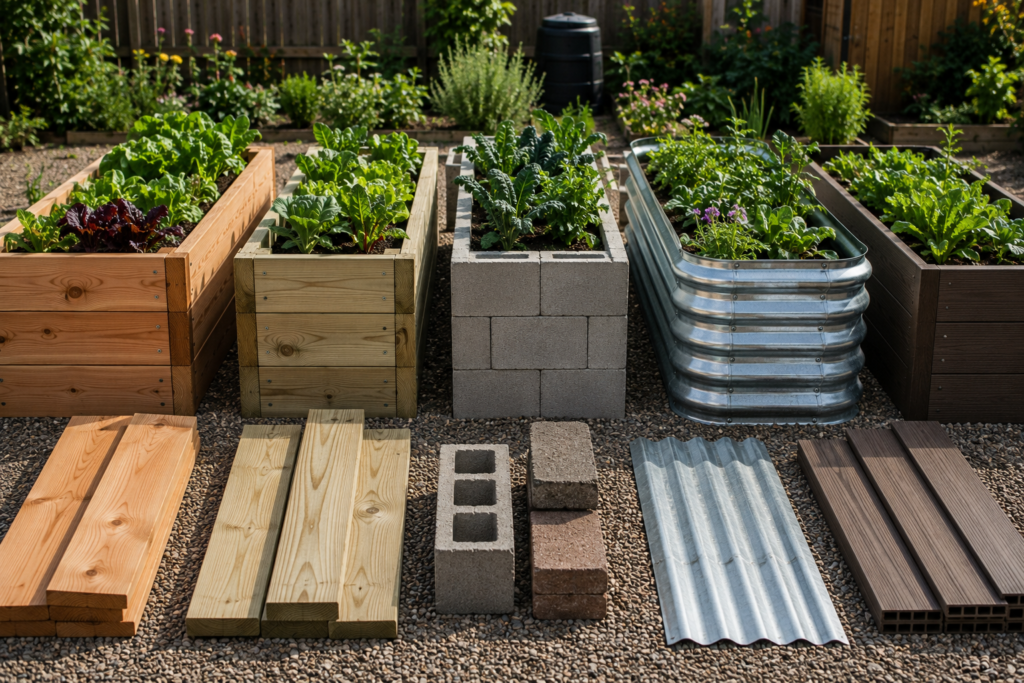
Untreated Cedar or Redwood
Best overall choice. Cedar and redwood contain natural oils that resist rot and insect damage. A cedar bed lasts 8–12 years without any chemical treatment.
Cedar is more expensive than pine but worth the investment. It doesn’t warp or crack as easily, and it won’t leach anything into your soil.
Cost: $15–$30 per 8-foot board
Lifespan: 8–12 years
Pressure-Treated Pine
Modern pressure-treated lumber uses copper-based preservatives that are safe for vegetable gardens. The old concern about arsenic was eliminated in 2004 when the industry switched to ACQ and CA treatments.
Pressure-treated pine is significantly cheaper than cedar and lasts 6–8 years. It’s a solid choice if budget is a concern.
Cost: $6–$12 per 8-foot board
Lifespan: 6–8 years
Common Mistake: Using railroad ties or old treated timbers. These can contain creosote or other chemicals not approved for vegetable gardens. Stick with modern ACQ-treated lumber labeled for ground contact.
Concrete Blocks or Brick
Concrete blocks are cheap, durable, and require no carpentry skills. Stack them in place, level as you go, and you’re done. They also hold heat well, extending your growing season.
The downside: they’re permanent. Moving a concrete block bed requires full disassembly. They also take up more space than wood frames because of the block width.
Cost: $1.50–$3 per block
Lifespan: Indefinite
Galvanized Steel
Galvanized raised beds have become popular in recent years. They’re durable, modern-looking, and don’t rot. The galvanization process bonds zinc to the steel, which prevents rust.
Some gardeners worry about zinc leaching into the soil. Research shows the amount is negligible and stays within safe levels for vegetable production. If you’re concerned, line the interior with landscape fabric.
Cost: $50–$150 per pre-made kit
Lifespan: 15–20 years
Composite Lumber
Made from recycled plastic and wood fiber, composite boards never rot and never need replacement. They’re more expensive than wood and can flex under heavy soil pressure if not reinforced.
Cost: $25–$40 per 8-foot board
Lifespan: 20+ years
Build It Once. Build It Right.
A raised bed is only as productive as the garden system behind it.
The Self-Sufficient Backyard teaches how to design a productive backyard with raised beds, compost systems, food production, water collection, and year-round growing.
👉 See everything included in The Self-Sufficient Backyard.
Dimensions: Getting the Size Right
Width
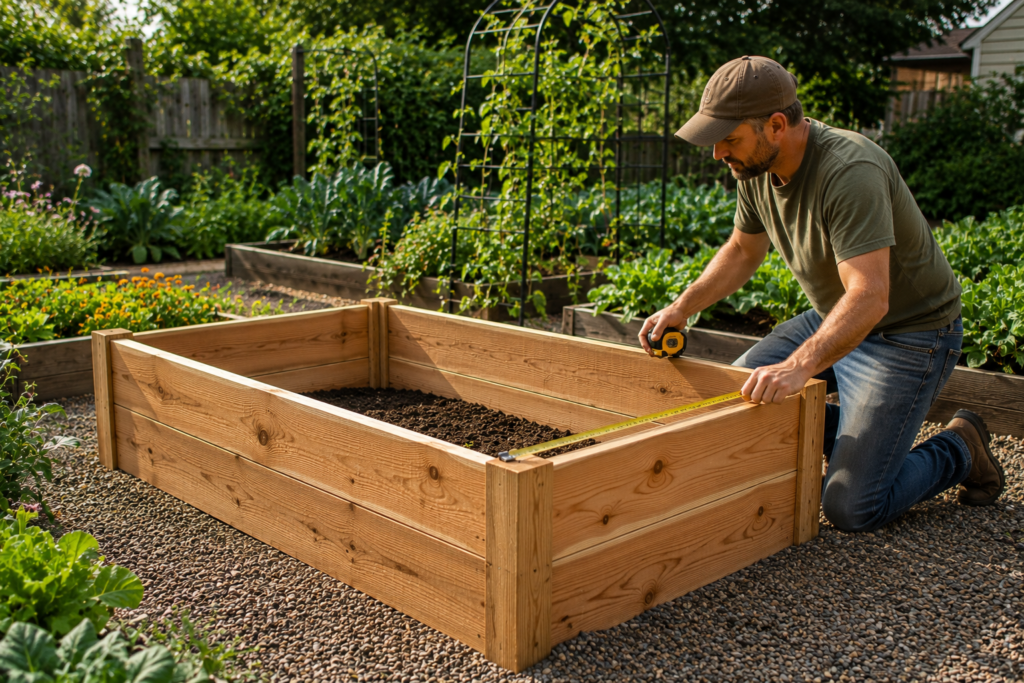
Keep it 4 feet wide or less. This is the most important dimension. You need to reach the center of the bed from both sides without stepping into it. Four feet is the standard maximum. Three feet works well if the bed is against a fence or wall.
Length
No strict limit. Common lengths are 4, 8, and 12 feet. The longer the bed, the more material you need for cross-bracing to prevent bowing.
Pro Tip: For an 8-foot bed, add a cross-brace at the midpoint. For 12-foot beds, add two. This prevents the long sides from bulging outward under soil pressure.
Height
6–8 inches is the minimum for most vegetables. This is enough depth for shallow-rooted crops like lettuce, spinach, and herbs.
12 inches is the sweet spot. Enough depth for tomatoes, peppers, carrots, and most root vegetables. Easy to reach and maintain.
18–24 inches is ideal if you have back problems or want to sit while gardening. Also necessary if the bed sits on hard surfaces like concrete or compacted clay.
Tools and Materials
What You’ll Need
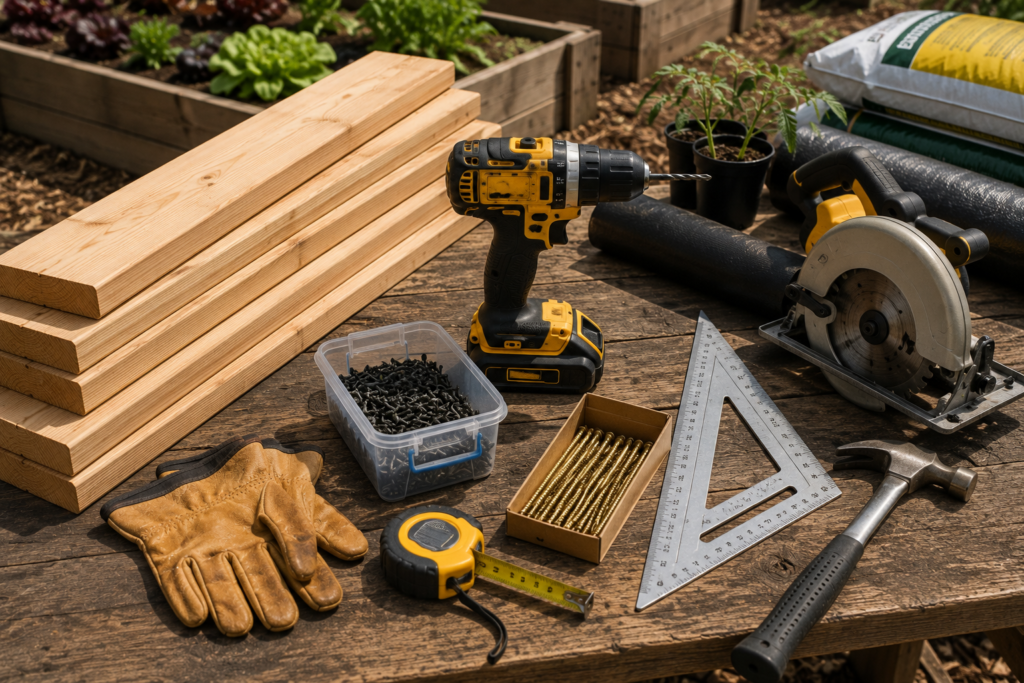
Materials:
• Lumber (cedar, pine, or your chosen material)
• Deck screws (3-inch exterior-grade, corrosion-resistant)
• Corner brackets or 4×4 posts for corners
• Landscape fabric (optional, for bottom lining)
• Soil mix (see filling section below)
Tools:
• Measuring tape
• Circular saw or handsaw
• Power drill with screwdriver bits
• Carpenter’s square
• Level
• Shovel
• Work gloves
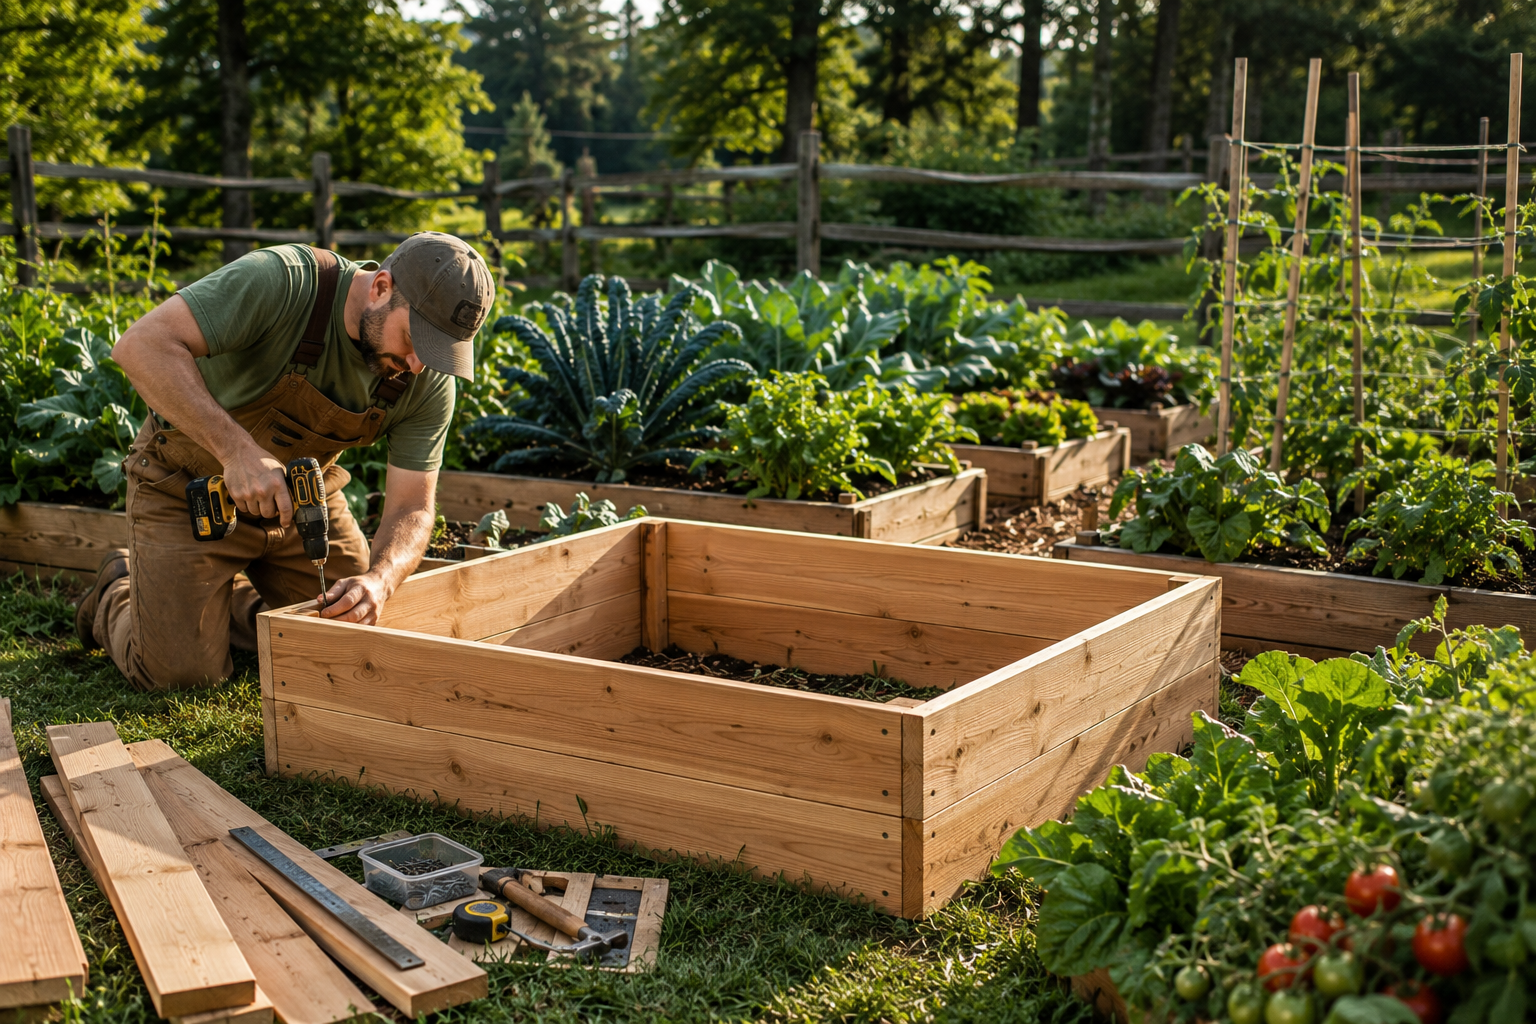
Step-by-Step Build: How to Build a 4×8 Raised Bed
This is the standard size for a reason. It fits the most common lumber lengths, provides 32 square feet of growing space, and is easy to reach across. Adjust dimensions as needed.
Step 1 — Cut Your Lumber
For a 4×8 bed with 12-inch sides, you need:
• Two 8-foot boards (long sides)
• Two 4-foot boards (short sides)
• Four 12-inch corner posts (4×4 or 2×4)
If your lumber is already cut to length at the store, skip this step. Many home improvement stores will cut boards for free.
If cutting yourself: measure twice, cut once. A carpenter’s square ensures clean 90-degree cuts.
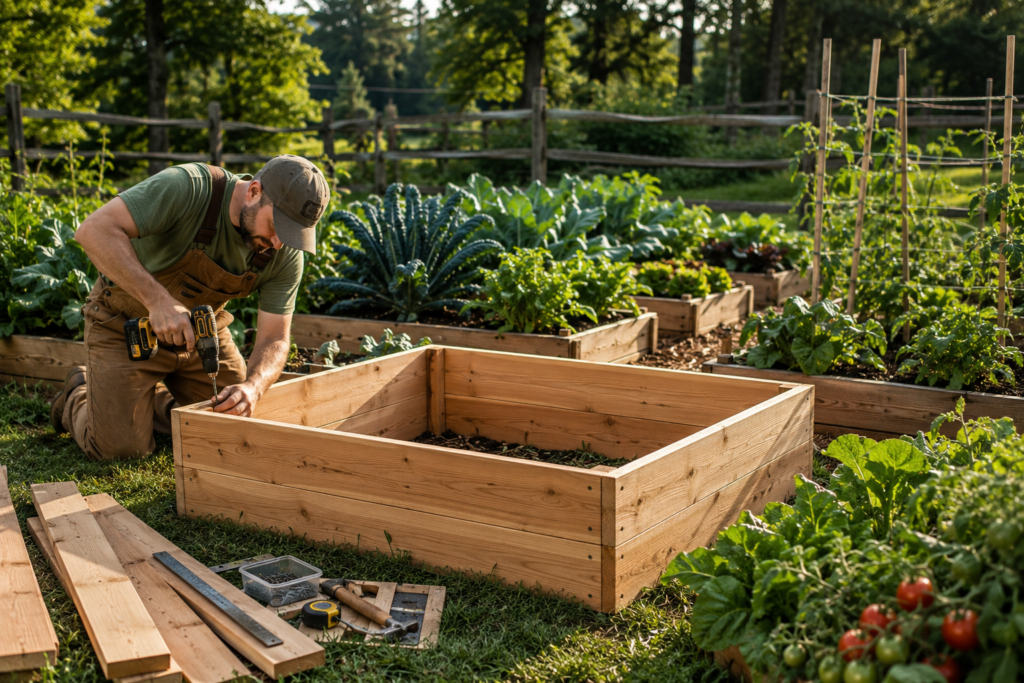
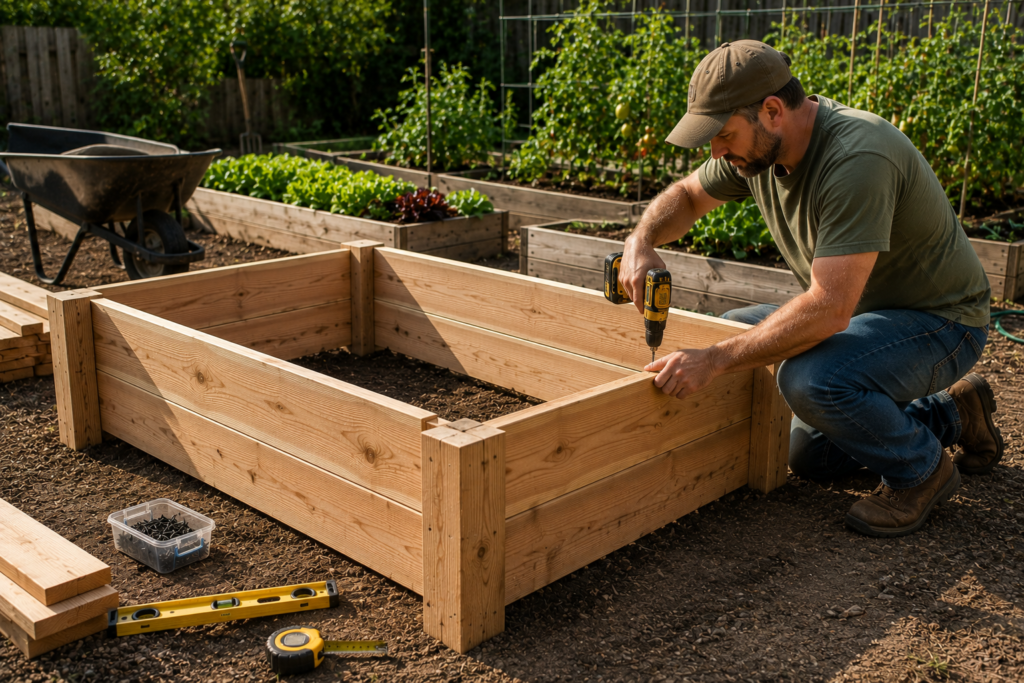
Step 2 — Assemble the Frame on Flat Ground
Lay the boards on a flat surface in a rectangle. The 8-foot boards go on the outside of the 4-foot boards to create clean corners.
Attach the corner posts at each corner, flush with the outside of the frame. The posts serve two purposes: they hold the frame together and provide a stake to anchor the bed to the ground.
Pre-drill pilot holes to prevent the wood from splitting. Drive two screws per board into each corner post.
Step 3 — Level the Site
Choose your location (more on this below) and clear the ground of grass and weeds. Remove the top layer of sod if present.
Set the frame in place and check it with a level. If the ground isn’t perfectly flat, dig down into the high spots — don’t build up the low spots. The frame should rest firmly on the ground all the way around.
If you’re on a significant slope, you may need to build a terraced design with multiple beds stepped down the slope.
Beginner Tip: Don’t worry about perfection. A bed that’s slightly off-level is still functional. The biggest risk is water pooling at one end, so make sure drainage is adequate.
Step 4 — Secure the Bed
If you used corner posts, drive them into the ground a few inches to anchor the bed. This prevents shifting over time, especially in freeze-thaw cycles.
For beds without corner posts, use rebar stakes — drive them through holes drilled in the frame corners.
Step 5 — Add a Bottom Layer (Optional)
For most gardens, placing the bed directly on bare soil is ideal. It allows earthworms and beneficial organisms to move up into the bed. It also lets excess water drain into the ground below.
If your bed sits on compacted clay, concrete, or weeds, add a bottom layer:
• Landscape fabric blocks weeds but allows drainage
• Hardware cloth (¼-inch mesh) prevents burrowing rodents
• Cardboard smothers grass and weeds but decomposes over time (replaceable)
Step 6 — Fill the Bed
This is where a lot of beginners get it wrong. Filling an entire 4×8 bed with bagged potting soil gets expensive fast — you need roughly 32 cubic feet, which is about 16–20 bags of soil.
Want to Grow More Food in Less Space?
Once your raised bed is finished, the next challenge is making every square foot as productive as possible.
The 5 Foot Farm shows space-saving layouts, companion planting strategies, succession planting, and intensive growing methods that can dramatically increase your harvest.
👉 Discover how The 5 Foot Farm helps you maximize every raised bed.
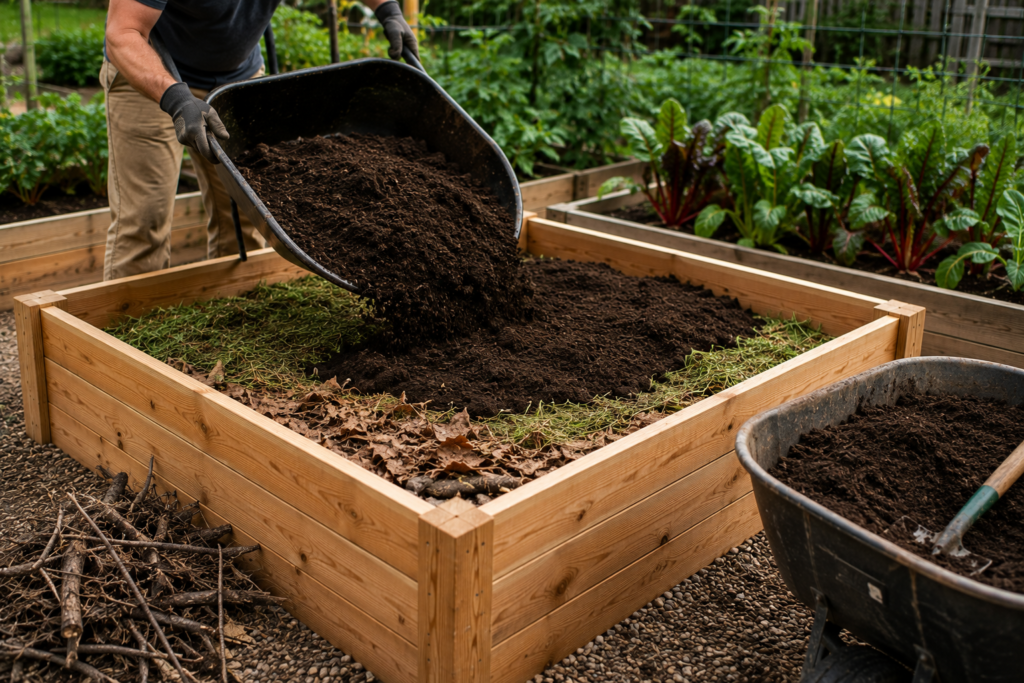
The Lasagna Method (recommended for deep beds):
For a 12-inch bed, fill the bottom 6 inches with organic material that will decompose over time:
• Untreated grass clippings
• Shredded leaves
• Straw
• Untreated cardboard
• Small branches
Top the bed with 6 inches of your final growing mix. The bottom layer will decompose and settle over the season, but by then your plants’ roots will have reached deep enough to access the nutrients.
The Direct Fill Method:
For a standard 8-inch bed, fill entirely with a mix of:
• 60% topsoil
• 30% compost
• 10% perlite or vermiculite (for drainage)
Mix thoroughly before planting.
Where to Place Your Raised Bed
Location matters more than anything except soil quality.
Full sun is non-negotiable. Most vegetables need 6–8 hours of direct sunlight per day. Less than that and yields drop significantly. Observe your yard for a full day before choosing a location.
Avoid low spots. Cold air sinks, and low-lying areas collect frost. A slight rise or level area is better.
Near a water source. Dragging a hose across the yard gets old fast. Place beds within reach of a spigot or plan for drip irrigation from the start.
Orientation north-south. This prevents taller plants from shading shorter ones as the sun moves across the sky. In northern climates, some gardeners prefer east-west to maximize southern exposure.
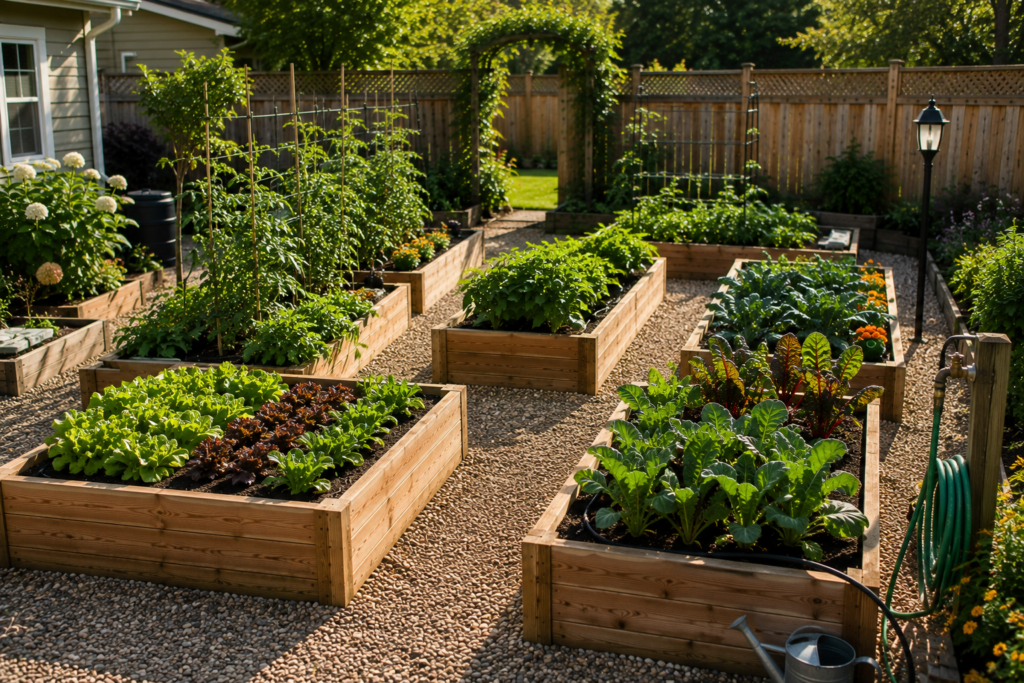
Leave space between beds. Two feet between beds is minimum. Three is better. You need room to walk, kneel, and maneuver a wheelbarrow.
Common Mistakes to Avoid
Making the bed too wide. Anything wider than 4 feet forces you to step into the bed, which compacts soil and makes weeding difficult.
Skipping the site prep. Placing a raised bed on top of thick grass or weeds leads to perennial problems. Clearing and leveling the site first is worth the hour it takes.
Filling with garden soil. Soil from your yard is too dense for raised beds. It compacts quickly, drains poorly, and suffocates roots. Buy or mix a proper raised bed soil blend.
Not anchoring the bed. Lightweight beds can shift over time, especially with freeze-thaw cycles. Anchor them at the corners.
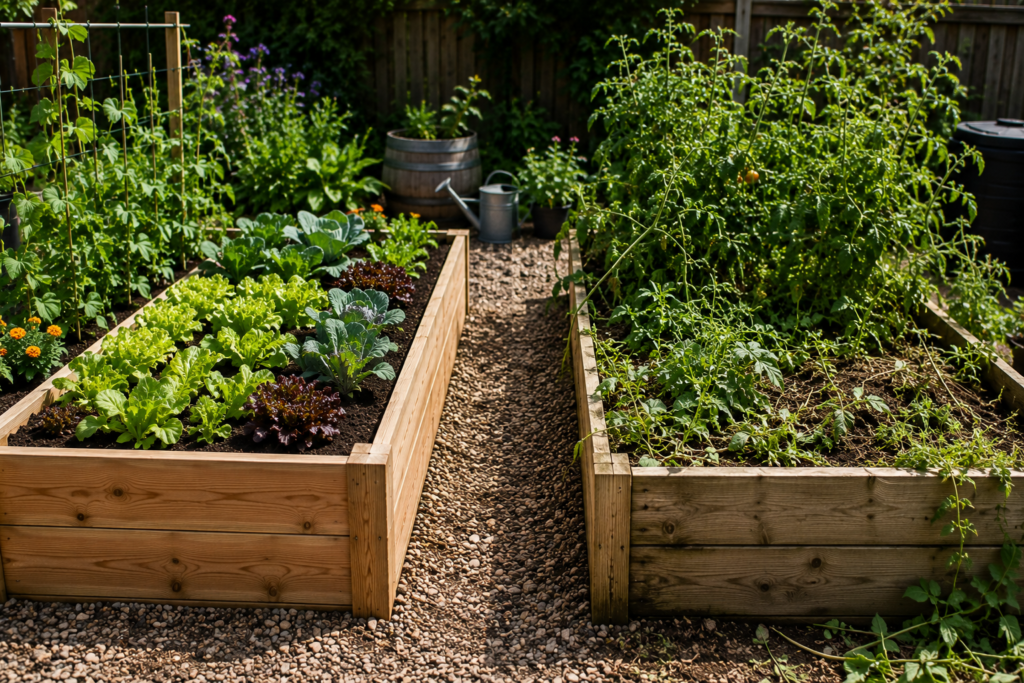
Forgetting about irrigation. Installing drip irrigation while the bed is empty is far easier than retrofitting it later. Run the lines along the top of the soil before you plant.
Cost Breakdown
Here’s what to expect for a standard 4×8 raised bed using cedar:
| Item | Cost |
| 4 cedar boards (2x6x8) | $60 – $120 |
| 4 corner posts (4×4) | $15 – $30 |
| Exterior screws (1 lb box) | $10 – $15 |
| Soil mix (32 cu ft) | $40 – $80 |
| Total | $125 – $245 |
Using pressure-treated pine drops the cost to roughly $80–$150 total.
Using concrete blocks for a 4×8 bed (approximately 30 blocks) costs about $45–$90 total.
How to Fill a Raised Bed on a Budget
The soil is the most expensive part. Here are three ways to save.
Method 1: The Hugelkultur Approach. Fill the bottom 12–18 inches with logs, branches, and woody debris. Cover with 6–8 inches of soil. The wood retains moisture and slowly releases nutrients as it decomposes. Works best for beds 18 inches tall or more.
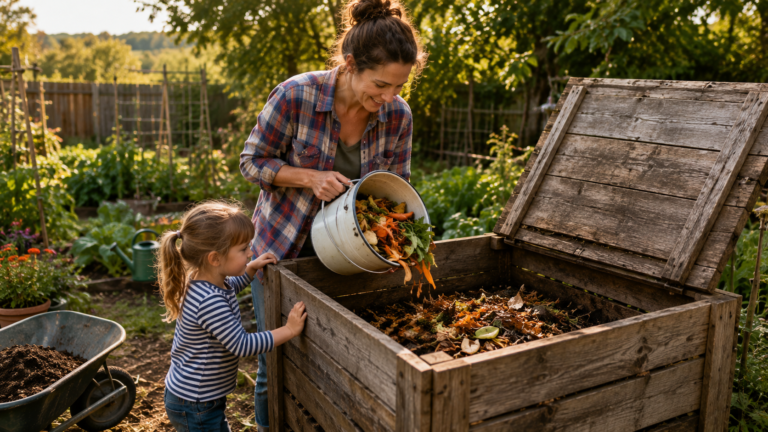
Method 2: Compost from Your Own Yard. Start composting a season before building your bed. By the time you build, you’ll have a free source of organic matter to mix with purchased topsoil.
Method 3: Buy in Bulk. Bagged soil from home improvement stores is the most expensive option. Call a local landscape supply company. A cubic yard of screened topsoil delivered often costs less than what you’d spend on bags for the same volume.
Turn Your Raised Bed Into Long-Term Food Security
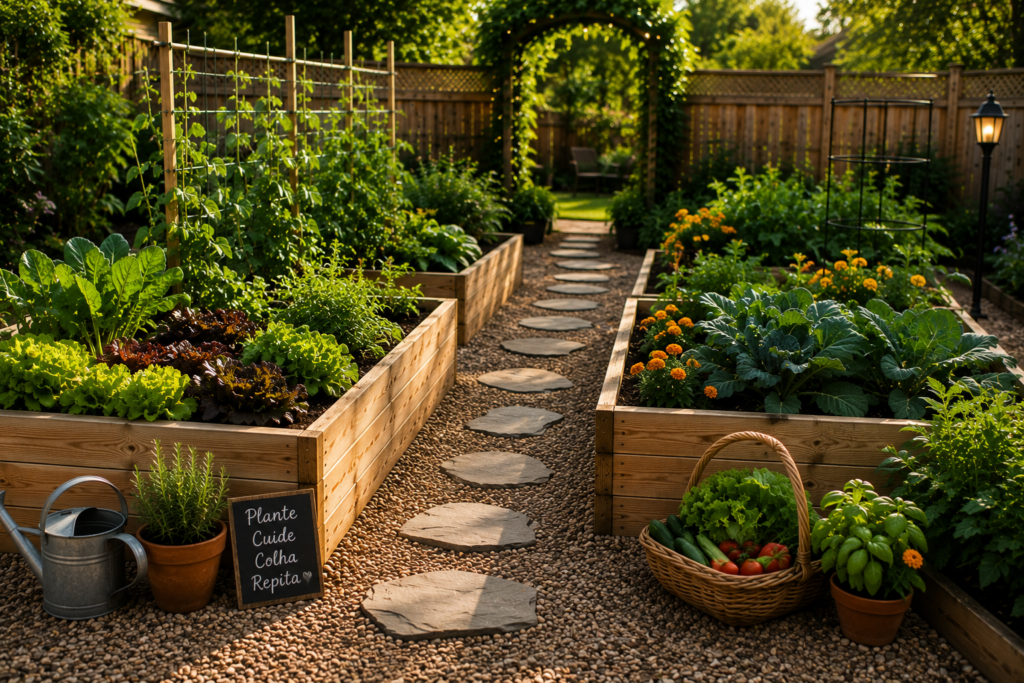
A raised bed is the beginning—not the end—of building a resilient food system.
The Lost Superfoods introduces forgotten vegetables, survival crops, and traditional foods that complement any productive garden.
👉 Explore the forgotten foods that generations relied on for self-sufficiency.
FAQ
1. Do I need to put anything at the bottom of a raised bed?
Only if you’re dealing with specific problems. If your bed sits on bare soil, leave the bottom open — earthworms and beneficial microbes will move up into your bed. If you have gophers or voles, add a layer of ¼-inch hardware cloth at the bottom. If weeds are a concern, lay cardboard or landscape fabric. In most cases, open-bottom beds on bare soil work best.
2. What type of wood lasts longest for raised beds?
Cedar and redwood are the longest-lasting untreated options (8–12 years). Black locust and Osage orange are even more rot-resistant but harder to find. Among treated options, modern ACQ pressure-treated pine lasts 6–8 years and is safe for vegetable gardens. Avoid creosote-treated railroad ties.
3. Can I build a raised bed directly on concrete or pavement?
Yes, but you need a deeper bed. On hard surfaces, roots can’t grow into the ground below. Build the bed at least 18 inches tall to give vegetables enough root depth. Drainage is also important — drill holes in the sides near the bottom, or add a gravel layer underneath the soil.
4. How long does it take to build a raised bed?
A first-time build takes two to three hours. That includes cutting lumber, leveling the site, assembling the frame, and filling it. Repeat builds are faster — experienced builders can complete a 4×8 bed in about one hour.
5. Should I line the inside of my raised bed?
Lining the interior with landscape fabric extends the life of the wood by reducing soil contact. It also prevents soil from escaping through gaps between boards. If you’re using cedar or redwood, lining is optional — the wood is naturally rot-resistant. For pine beds, lining is recommended.
Final Thoughts
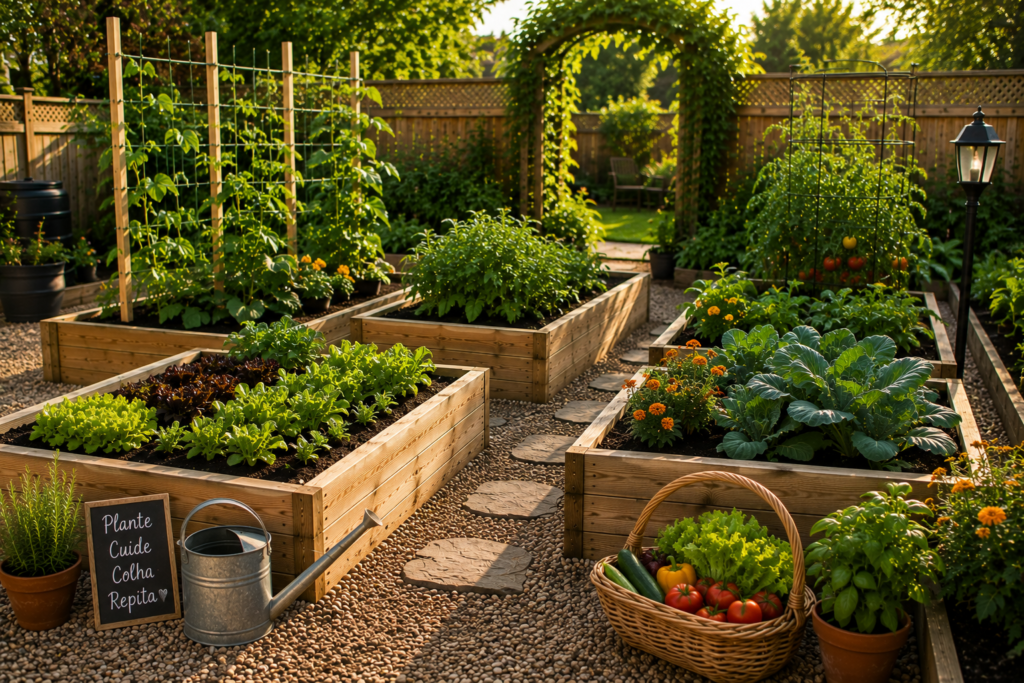
Building a raised garden bed is one of the most rewarding projects you’ll do on your property. It’s simple enough for a first-time builder, inexpensive enough to try without commitment, and productive enough to transform how you grow food.
Start with one bed. Build it in a sunny spot with good soil. Plant it with vegetables your family will actually eat. See how it changes your gardening experience.
Most people who build one raised bed end up building two more the following season. There’s a reason for that. They work.
Live free. Grow food. Build freedom.
Recommended Resources
If you’re planning to build a productive backyard garden, these guides are worth exploring:
🌱 The Self-Sufficient Backyard
Create a complete backyard food production system.
🥕 The 5 Foot Farm
Grow significantly more food in a surprisingly small space.
🍅 The Lost Superfoods
Discover forgotten crops and traditional foods that increase food security.
💧 Joseph’s Well
Learn practical ways to secure a reliable water supply for your homestead.