How to Start Composting at Home: The Complete Beginner’s Guide
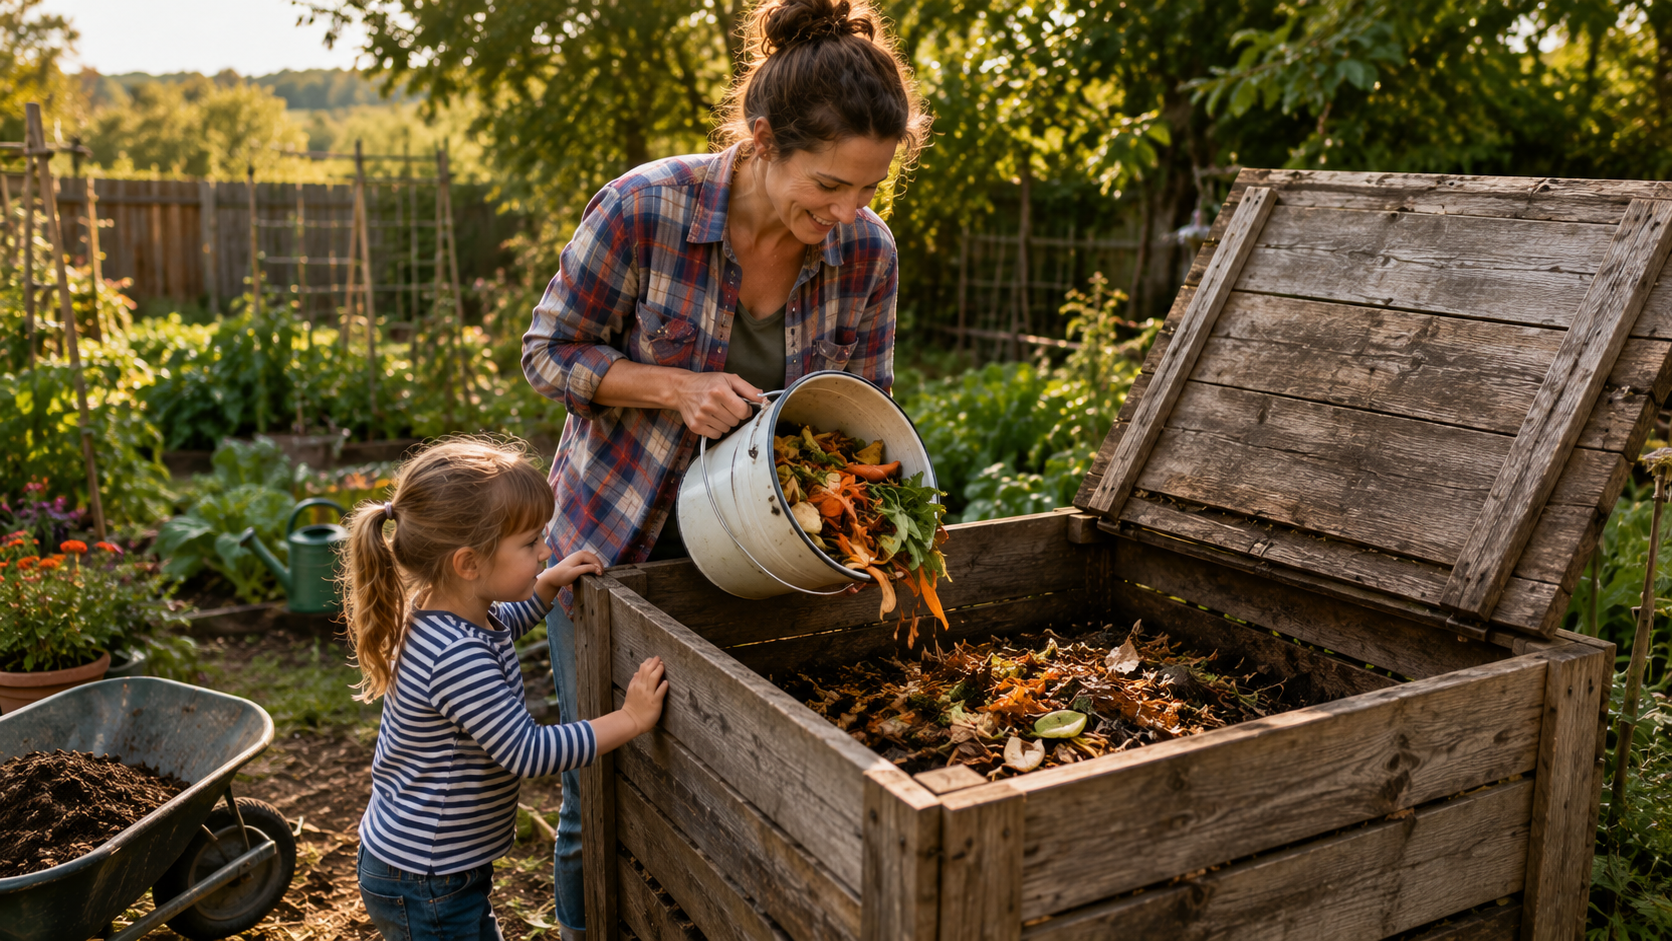
You’ve decided to start composting. Maybe you’re tired of tossing kitchen scraps into the trash. Maybe you’ve heard it’s the secret to vegetable garden soil that makes your neighbors jealous. Or maybe you just want to do something that feels good for the earth.
All of those are good reasons.
Here’s what nobody tells you: composting isn’t complicated. It’s not science class. It’s not a chore you’ll dread. Once you understand the basic rhythm of it, composting becomes one of those satisfying parts of the day — like brewing coffee or watering the tomatoes.
This guide covers everything a beginner needs: what to compost, what to avoid, which method works best for your space, and how to turn kitchen scraps into dark, crumbly gold for your garden.
Why Composting Matters More Than You Think
Before we talk about bins and browns and greens, let’s talk about why you’re doing this.
Composting takes what your kitchen and yard produce — eggshells, carrot tops, grass clippings, fallen leaves — and turns it into the single best soil amendment you’ll ever use. Store-bought fertilizer is fine. Compost is better. It improves soil structure, feeds earthworms, holds moisture during droughts, and buffers pH naturally.
But the bigger reason? Composting closes the loop.
You grow food. You eat food. The scraps go back into the ground to grow more food. That’s the homestead cycle. It’s how every garden was fed before the age of chemical fertilizers.
When you compost at home, you’re not just making soil. You’re building independence. That’s what Freeland Haven is about. Live free. Grow food. Build freedom.
Benefits at a glance:
- Free, high-quality fertilizer for your garden
- Reduces household waste by 25–30%
- Saves money on soil amendments and bagged compost
- Improves water retention in sandy soils and drainage in clay
- Suppresses plant diseases naturally
- Keeps organic waste out of landfills (where it would produce methane)
Turn Your Kitchen Scraps Into Garden Gold
Composting is one of the easiest ways to improve your soil and grow healthier vegetables. If you’re looking for more practical backyard projects that increase your self-sufficiency, this guide is a great next step.
👉 Explore The Self-Sufficient Backyard →
The Simple Science Behind Composting
Compost happens. That’s the first thing to remember.
Given enough time, any organic material will eventually break down on its own. What we’re doing when we build a compost pile is just speeding up that natural process by creating ideal conditions for the decomposers — bacteria, fungi, worms, and insects that do the actual work.
The magic formula is simple: browns + greens + air + water + time = compost.
Here’s what each part does:
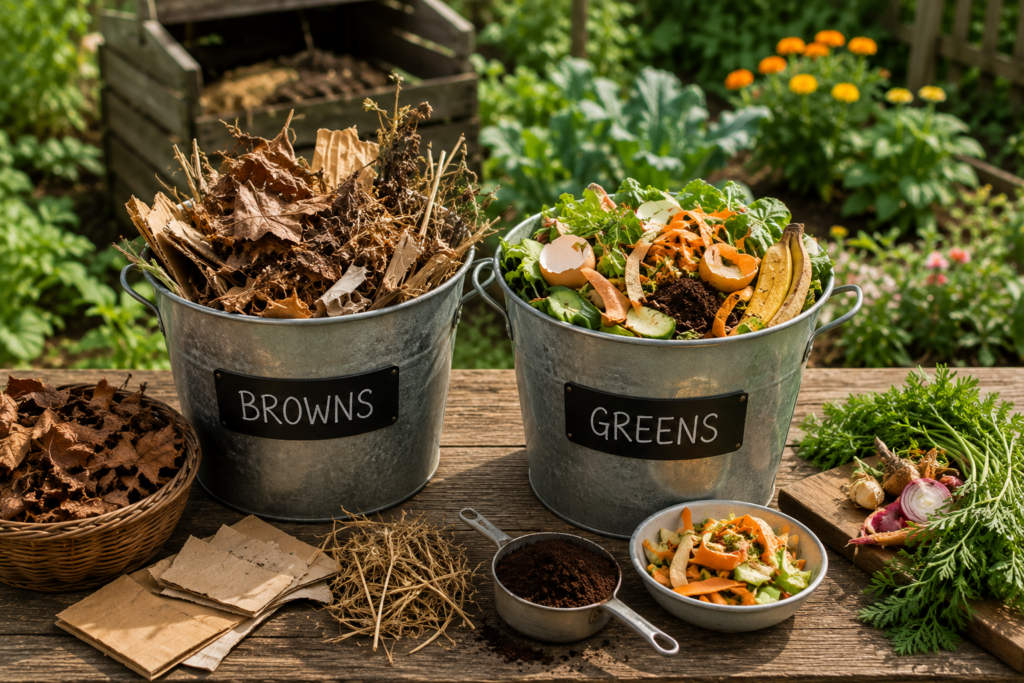
Browns are carbon-rich materials. Dried leaves, straw, paper, cardboard, wood chips. They provide energy for the microorganisms.
Greens are nitrogen-rich materials. Kitchen scraps, grass clippings, fresh plant trimmings, coffee grounds. They provide protein for the microorganisms to grow and reproduce.
Air is non-negotiable. The bacteria that break down your pile are aerobic — they need oxygen. Without it, anaerobic bacteria take over, and that’s when things start to smell like a swamp.
Water keeps the pile moist enough for microbial activity. Too dry and decomposition stops. Too wet and you lose oxygen.
Time is the easiest ingredient. You just need patience.
Choosing Your Compost Method
An expensive setup isn’t necessary. Some of the best compost comes from a simple pile in the corner of the yard. But different methods work better for different situations. Here are the most practical options for a home homesteader.
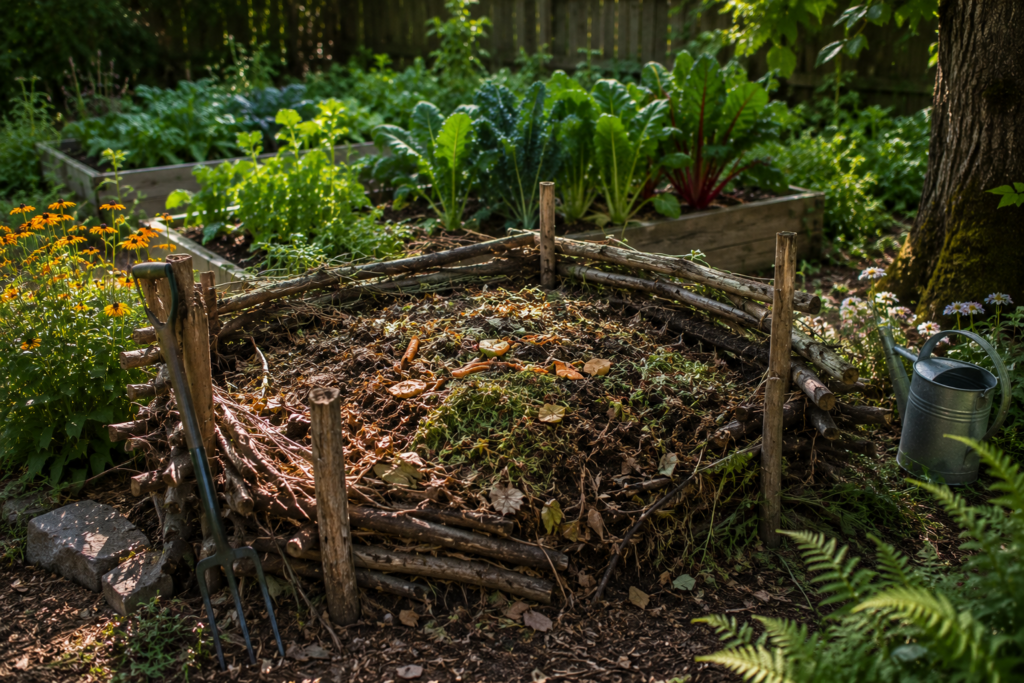
1. The Open Pile
Best for: Large yards, lots of yard waste, no rush.
This is the simplest method. Pick a spot — ideally on bare soil so earthworms can access it from below — and start piling. Layer browns and greens as you generate them. Give it a turn every week or two. In three to six months, you’ll have finished compost.
Pros: Free, low effort, handles large volume. Cons: Takes up space, can look messy, slower breakdown.
Pro Tip: Build your pile in a spot with partial shade. Too much sun dries it out. Too much shade keeps it too wet and cold.
2. The Compost Bin
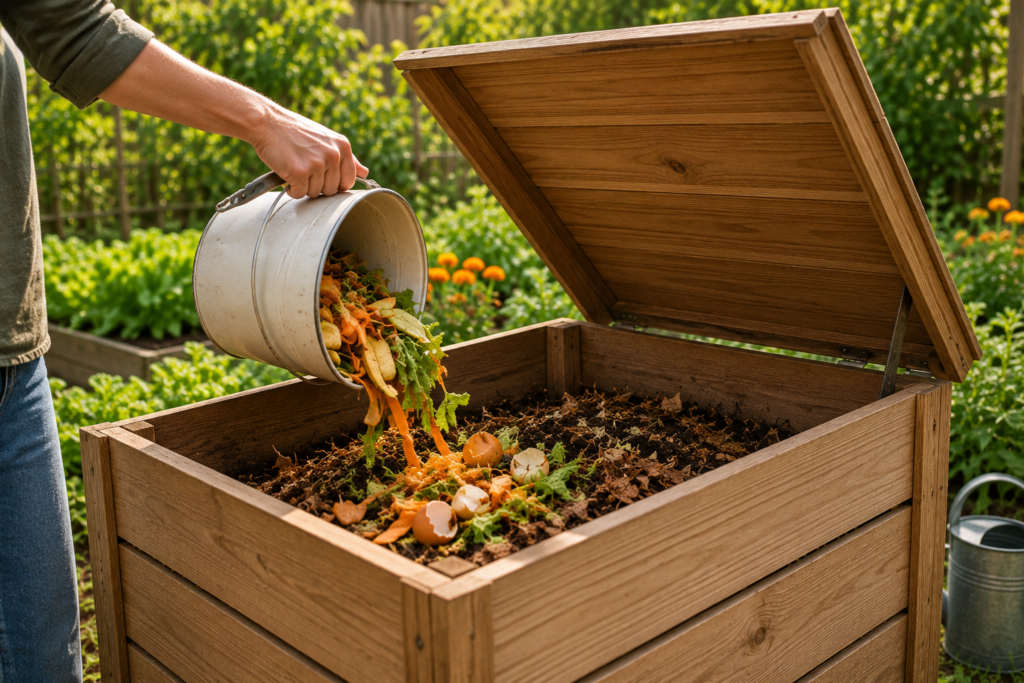
Best for: Suburban yards, neighborhoods with HOA rules, people who want it tidy.
A bin keeps everything contained. You can buy a plastic tumbling bin, build one from wood pallets, or repurpose a trash can with holes drilled in it. Bins retain heat better than open piles, which means faster decomposition.
Pros: Neat appearance, retains heat and moisture, rodent-resistant. Cons: Usually smaller capacity, you may need to buy or build one.
Beginner Tip: If you’re buying your first bin, don’t overspend. A simple black plastic bin with a lid and bottom access works perfectly. You can always upgrade later.
3. Tumbling Composter
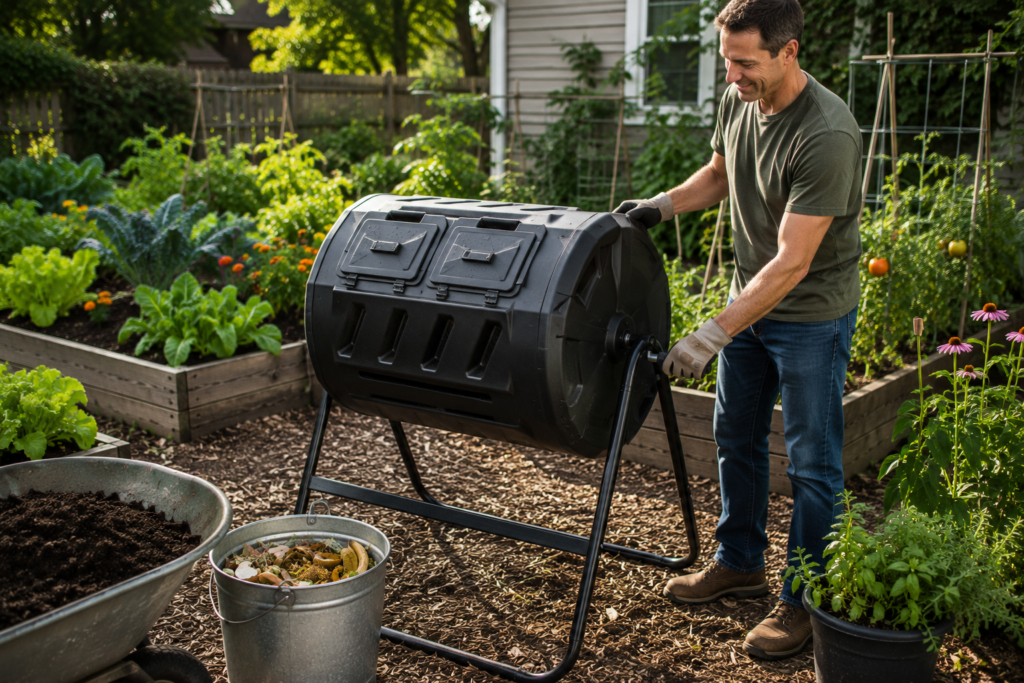
Best for: People with limited mobility, small yards, wanting speed.
A tumbler is a barrel on a frame that you crank to turn the contents instead of using a pitchfork. It’s easier on the back and produces compost faster because you can turn it frequently without effort.
Pros: Easy turning, faster compost (as quick as 2–3 weeks if managed well), elevated off the ground (rodent-proof). Cons: Smaller volume, can dry out quickly, more expensive upfront.
Pro Tip: If you go with a tumbler, load it all at once with a balanced batch rather than adding scraps gradually. Batch feeding works better than continuous feeding in tumblers.
4. Trench Composting (Zero-Effort Method for Garden Beds)
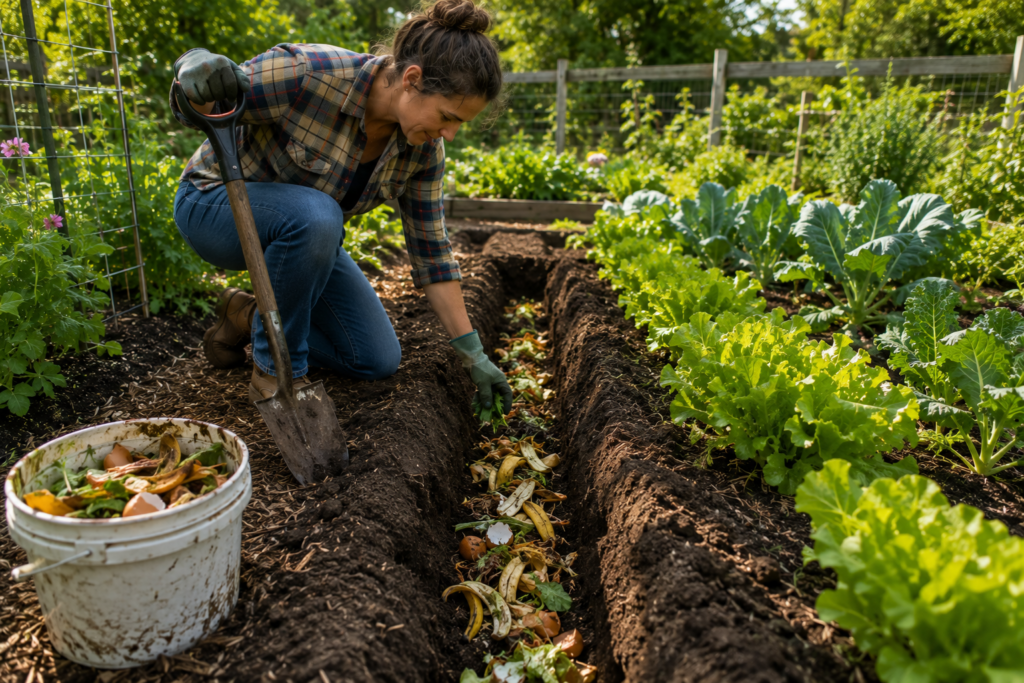
Best for: Gardeners who want zero maintenance.
Dig a trench 8–12 inches deep in your garden bed. Fill it with kitchen scraps. Cover it back up with soil. Worms and microbes do the rest right where your plants need it.
Pros: Zero turning, zero smell, zero pest issues, direct soil feeding. Cons: Not practical if you generate a lot of waste, requires digging.
This is one of the most underrated methods available. It’s how many gardeners handle kitchen scraps during the growing season — rotating which bed gets buried each time.
Build a More Productive Backyard
Composting is just one piece of a productive homestead. The 5 Foot Farm shows how to grow an impressive amount of food—even if you only have a small backyard.
What to Compost (And What to Avoid)
Most people overthink this. Here’s the short version.
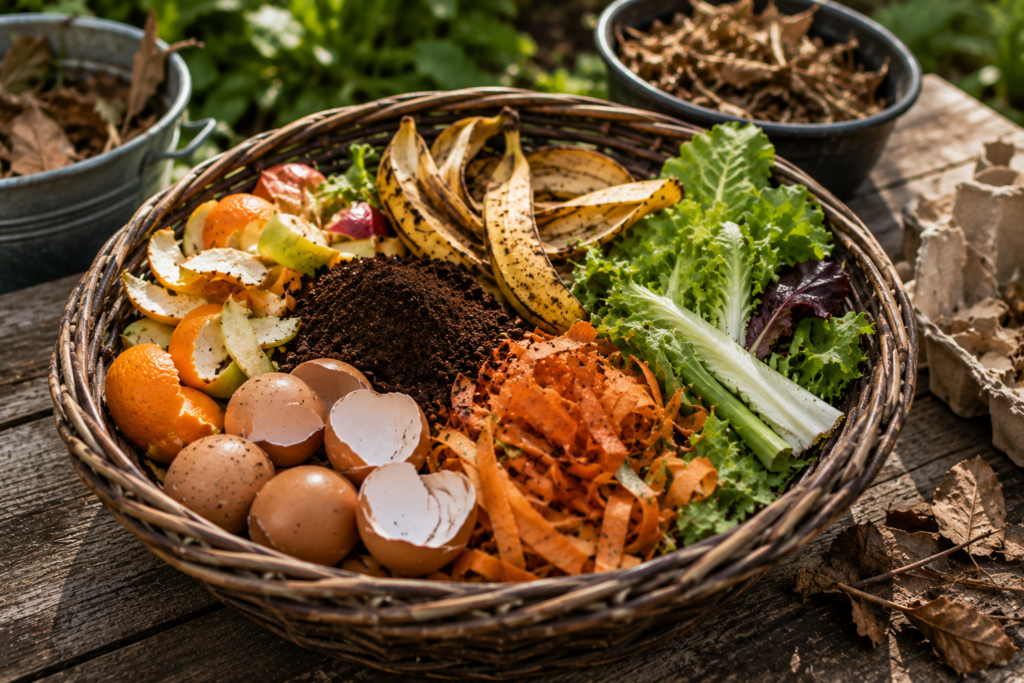
Add These Freely
Greens (Nitrogen):
- Fruit and vegetable scraps
- Coffee grounds and paper filters
- Fresh grass clippings
- Plant trimmings (disease-free)
- Eggshells (crush them first)
- Tea bags (remove staples)
Browns (Carbon):
- Dried leaves (shredded works best)
- Straw or hay
- Untreated wood chips or sawdust
- Shredded cardboard and paper
- Paper towels and napkins (non-greasy)
- Corn stalks and cobs
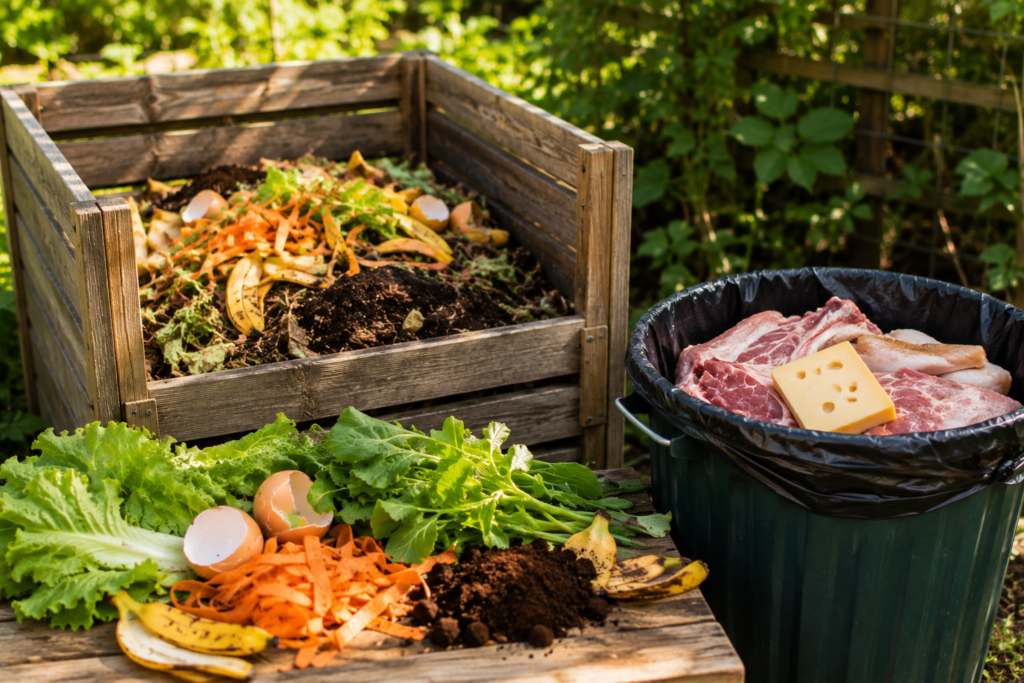
Avoid These
- Meat, bones, or fish (attracts rodents and creates odor)
- Dairy products (same problem)
- Oily or greasy foods (slows decomposition, attracts pests)
- Diseased plant material (spreads pathogens)
- Perennial weed roots (you’ll just plant them in your garden)
- Dog or cat waste (can contain parasites)
- Chemically treated yard waste (pesticide residues)
Common Mistake: People think “well it’s organic so it must compost fine.” Meat and dairy will break down eventually, but they create the worst smell you’ve ever encountered and will absolutely bring rats. Just don’t do it.
Building Your First Pile: Step by Step
Let’s walk through this. You’ve got a spot. You’ve got your bin or open area. Now build.
Step 1 — Start with browns. Put down a 4–6 inch layer of coarse brown material like small twigs or straw. This creates airflow at the base and prevents the pile from getting waterlogged.
Step 2 — Add greens. Layer on 2–3 inches of kitchen scraps or fresh grass clippings.
Step 3 — Cover with browns. Add another 4–6 inches of dried leaves or shredded paper. This is the most important step for odor control. The brown layer traps smells and prevents flies from reaching the greens.
Step 4 — Water it. Moisten each layer as you build. The pile should feel like a wrung-out sponge. Not dripping, not dry.
Step 5 — Repeat. Keep layering browns and greens as you generate materials. Once the pile reaches about 3 feet tall, you can stop adding and let it cook.
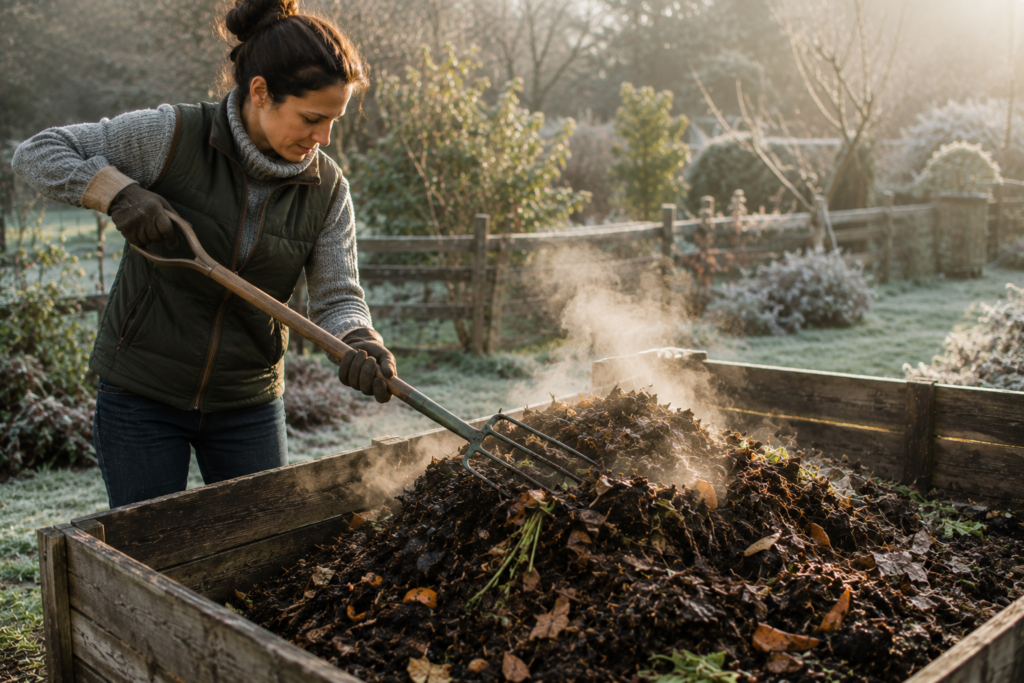
Step 6 — Turn it. After a week or two, use a pitchfork or compost crank to mix the pile. Move material from the center to the edges and vice versa. This reintroduces oxygen and moves undecomposed material into the hot center.
Pro Tip: If you want to speed things up, shred your browns. Shredded leaves break down dramatically faster than whole leaves. Run a lawn mower over your leaf pile before adding them.
Managing Your Compost: The Day-to-Day
A compost pile doesn’t need constant attention. But paying attention to a few things makes the difference between “compost eventually” and “compost fast.”
How Often to Turn
More turning = faster compost. Less turning = less work.
If you’re in a hurry, turn every 3–4 days. If you’re not, once a week is fine. If you’re lazy, once a month still works — it just takes longer.
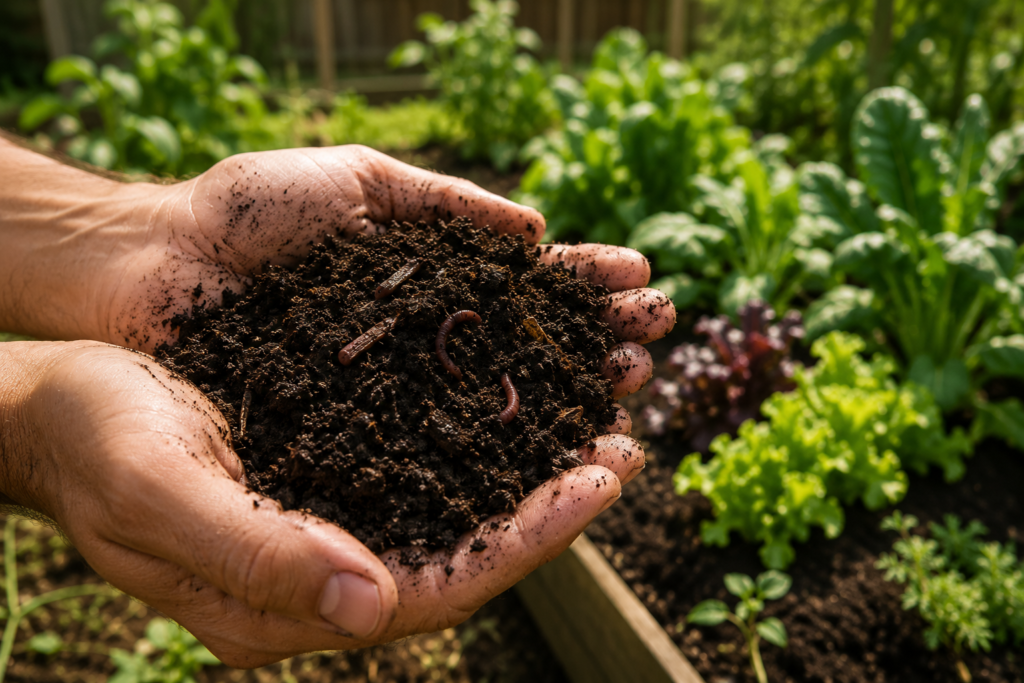
When the pile stops shrinking, it’s done. Finished compost will be dark, crumbly, and smell like earth after a rain.
Troubleshooting Common Problems
| Problem | Likely Cause | Fix |
|---|---|---|
| Bad smell (rotten eggs) | Too wet, not enough air | Turn the pile, add dry browns |
| Ammonia smell | Too many greens | Add more browns |
| Pile isn’t heating up | Too small or too dry | Add greens and water, make pile larger |
| Flies or gnats | Greens exposed | Cover with a thick layer of browns |
| Pile is dry and stagnant | Not enough water | Moisten while turning |
| Rodents | Meat or dairy in pile | Remove scraps, switch to enclosed bin |
Beginner Tip: If your pile starts smelling bad, the fix is almost always “add more browns.” Keep a bag of dried leaves or shredded cardboard next to your pile at all times.
Does It Need to Be Hot?
A “hot” pile (130–160°F) decomposes faster and kills weed seeds and pathogens. But a “cold” pile works fine too — it just takes longer.
If you want a hot pile, build at least 3x3x3 feet, use the right ratio, and turn it when the temperature starts dropping. You can buy a compost thermometer for $15, but honestly, feeling the heat with your hand is good enough.
I’ve made plenty of excellent compost from cold piles. It just took six months instead of three.
When Is Your Compost Ready?
Finished compost looks nothing like what you started with. Here’s how to tell:
- Dark brown, almost black
- Crumbly texture — it falls apart in your hands
- Earthy smell — fresh soil after rain, nothing sour or ammonia-like
- You can’t identify the original ingredients — if you still see recognizable food scraps, it’s not done
Most batches take 3 to 6 months from start to finish, depending on temperature, moisture, turning frequency, and pile size. In warm weather with regular turning, you can get compost in as little as 6–8 weeks.
Pro Tip: If you start a new pile every month, you’ll have a continuous supply of finished compost forever. That’s the real goal — not one batch, but a system.
Using Your Finished Compost
Here’s the fun part.
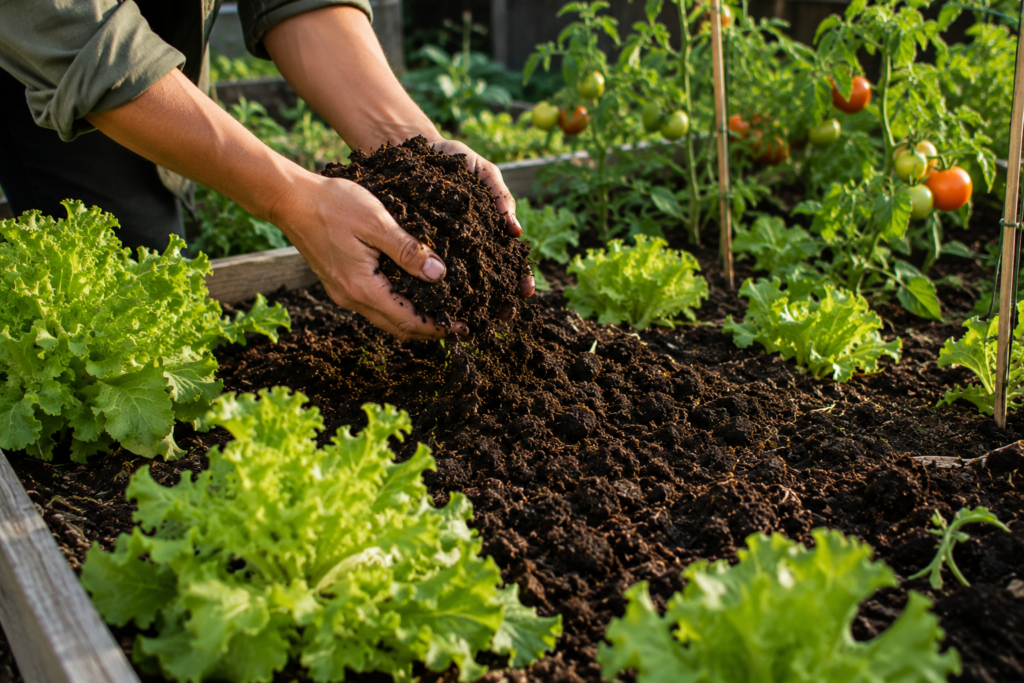
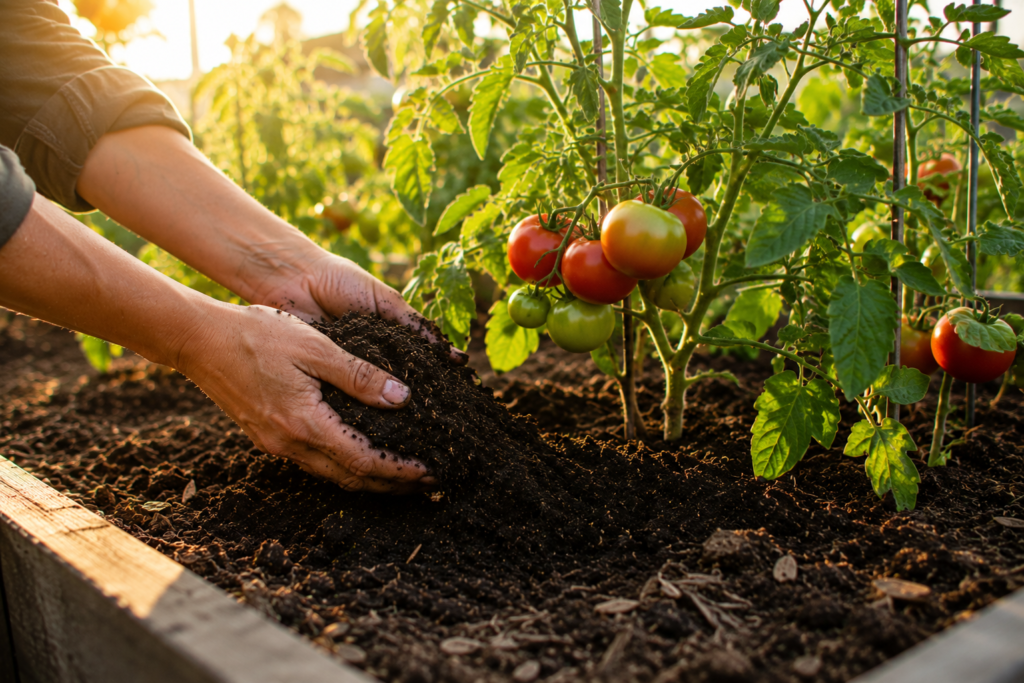
In the garden: Work 1–3 inches of compost into the top 6 inches of soil before planting. Or side-dress growing plants with an inch of compost around the base.
As mulch: Spread a 1–2 inch layer on top of soil around perennials and trees. It suppresses weeds, retains moisture, and feeds slowly.
Compost tea: Steep a shovelful of compost in a bucket of water for 24 hours. Use the strained liquid as a gentle, nutrient-rich foliar spray or soil drench.
Seed starting: Mix compost with potting soil at a 1:3 ratio for nutrient-dense seed starting mix.
Can you use too much? Not really. Compost is a soil amendment, not a synthetic fertilizer. You’d have to add an absurd amount before it caused problems. In practice, more compost almost always means healthier soil.
Don’t Let Your Harvest Go to Waste
Rich compost helps you grow healthier vegetables. The next step is learning how to preserve that harvest so you can enjoy it long after the growing season ends.
👉 Discover The Lost Superfoods →
FAQ
1. Will my compost pile attract rats or raccoons?
Only if you compost the wrong things. Keep meat, dairy, oily foods, and cooked leftovers out of the pile. Cover fresh kitchen scraps immediately with a thick layer of browns. If rodents are a persistent problem in your area, switch to an enclosed bin or tumbler. A well-managed pile should not attract pests.
2. Can I compost in the winter?
Yes. Decomposition slows down in cold weather, but it doesn’t stop completely. Insulate your pile with a thick layer of straw or leaves on top, or use a compost bin that retains heat better than an open pile. In northern climates, many homesteaders build a second pile in fall that cooks through the following spring.
3. How do I know if my ratio of browns to greens is right?
Your pile shouldn’t smell bad. If it smells like ammonia or rotten eggs, the ratio is off. A healthy pile either smells like nothing or like earthy soil. If you’re unsure, lean heavy on the browns. You can always add more greens later — but you can’t undo a stinky pile without a lot of extra work.
4. Do I need to add compost starters or activators?
No. Compost starters are a waste of money. The microorganisms that break down your pile are already present on the organic materials you’re adding. If you want to speed things up, add a shovelful of finished compost or garden soil to introduce beneficial microbes. That’s free and it works better than any store-bought product.
5. Can I compost in an apartment or small space?
Absolutely. There are several methods that work beautifully in small spaces:
- Bokashi composting uses a small airtight bucket and inoculated bran to ferment kitchen scraps (no smell, fits under a sink)
- Worm composting (vermicomposting) uses red wigglers in a small bin — worms eat your scraps and produce castings, which is some of the richest compost you can make
- Countertop electric composters dry and grind scraps into a soil-like material (convenient but expensive)
- Community composting — find a local garden that accepts kitchen scraps
Final Thoughts
Composting is one of those homesteading skills that rewards you twice. The first reward is the satisfaction of knowing you’re not sending waste to a landfill. The second is the dark, crumbly gold that comes out the other end and turns your garden into something special.
Don’t overthink it. Don’t buy a bunch of expensive equipment. Don’t stress about getting the perfect ratio.
Just start.
Find a spot. Start a small pile. Add your scraps. Cover them up. Wait. Turn it when you remember. And six months from now, when you’re spreading your own homemade compost on your garden beds, you’ll wonder why you didn’t start sooner.
That’s the thing about freedom. It’s built one small habit at a time.
Live free. Grow food. Build freedom.
Recommended Resources
🌱 The Self-Sufficient Backyard
Learn practical backyard projects that help you grow more food and become more self-sufficient.
👉 Learn More →
🥕 The 5 Foot Farm
Discover how to produce an incredible amount of food—even in a surprisingly small backyard.
👉 Explore The Guide →
🥫 The Lost Superfoods
Master traditional food preservation methods and learn how to store your harvest for months.
💧 Joseph’s Well
Explore practical water solutions for gardens, homesteads, and emergency preparedness.
👉 See What’s Inside →