How to Drill a Well on Your Homestead: The Complete Guide to Water Independence
Few upgrades have a greater impact on a homestead than having your own reliable water source.
Imagine watering your vegetable garden during the hottest weeks of summer without worrying about rising utility bills. Picture filling livestock troughs, washing equipment, or simply turning on the kitchen faucet knowing the water comes directly from your own land. For many homesteaders, a private well represents more than convenience—it represents independence.
A properly constructed well can reduce long-term water costs, increase property value, provide a dependable water supply during emergencies, and give you greater control over your household’s water quality. Whether you’re building a new homestead or upgrading an existing property, installing a well is one of the most significant investments you can make toward long-term self-sufficiency.
At the same time, drilling a well isn’t a project to approach without planning. Local regulations, geological conditions, drilling methods, equipment selection, and maintenance all play a major role in determining whether your investment will provide clean, reliable water for decades.
In this guide, you’ll learn how private wells work, the different types of wells available, realistic installation costs, how to prepare your property before drilling, and the advantages and limitations of both professional and DIY well-drilling approaches.
Important: Well drilling regulations, permit requirements, and construction standards vary by state, county, and country. Always verify local regulations before beginning any drilling project.
Why a Well Changes Everything
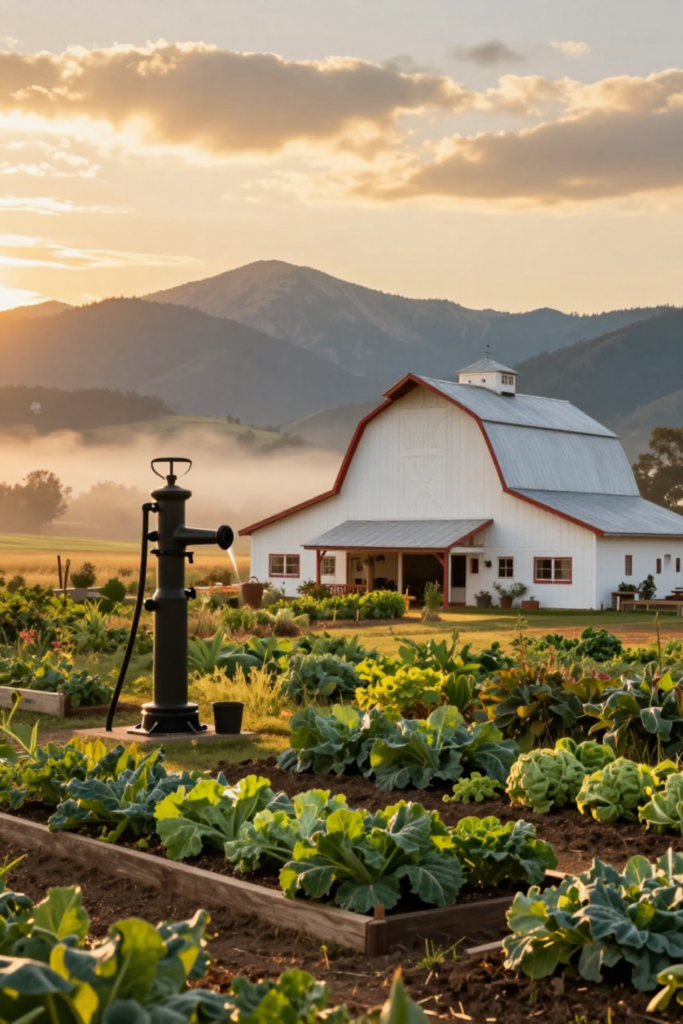
For many people, water is something they rarely think about until there is a problem. You turn on the faucet, pay the monthly bill, and expect a reliable supply every day. But for homesteaders, water isn’t just another utility—it’s the foundation of daily life.
Whether you’re growing vegetables, raising chickens, caring for livestock, preserving food, or simply maintaining your household, nearly every activity depends on having access to clean, dependable water.
A private well changes that relationship. Instead of relying entirely on municipal infrastructure, you gain greater control over one of your property’s most valuable resources.
Lower Long – Term Water Costs
Installing a well requires a significant upfront investment, but it can substantially reduce ongoing water expenses over time. Many homeowners use thousands of gallons each month for outdoor irrigation alone. With a private well, those recurring costs can be dramatically reduced, especially if you maintain a large garden or landscape.
For many homesteaders, the savings become more noticeable each growing season.
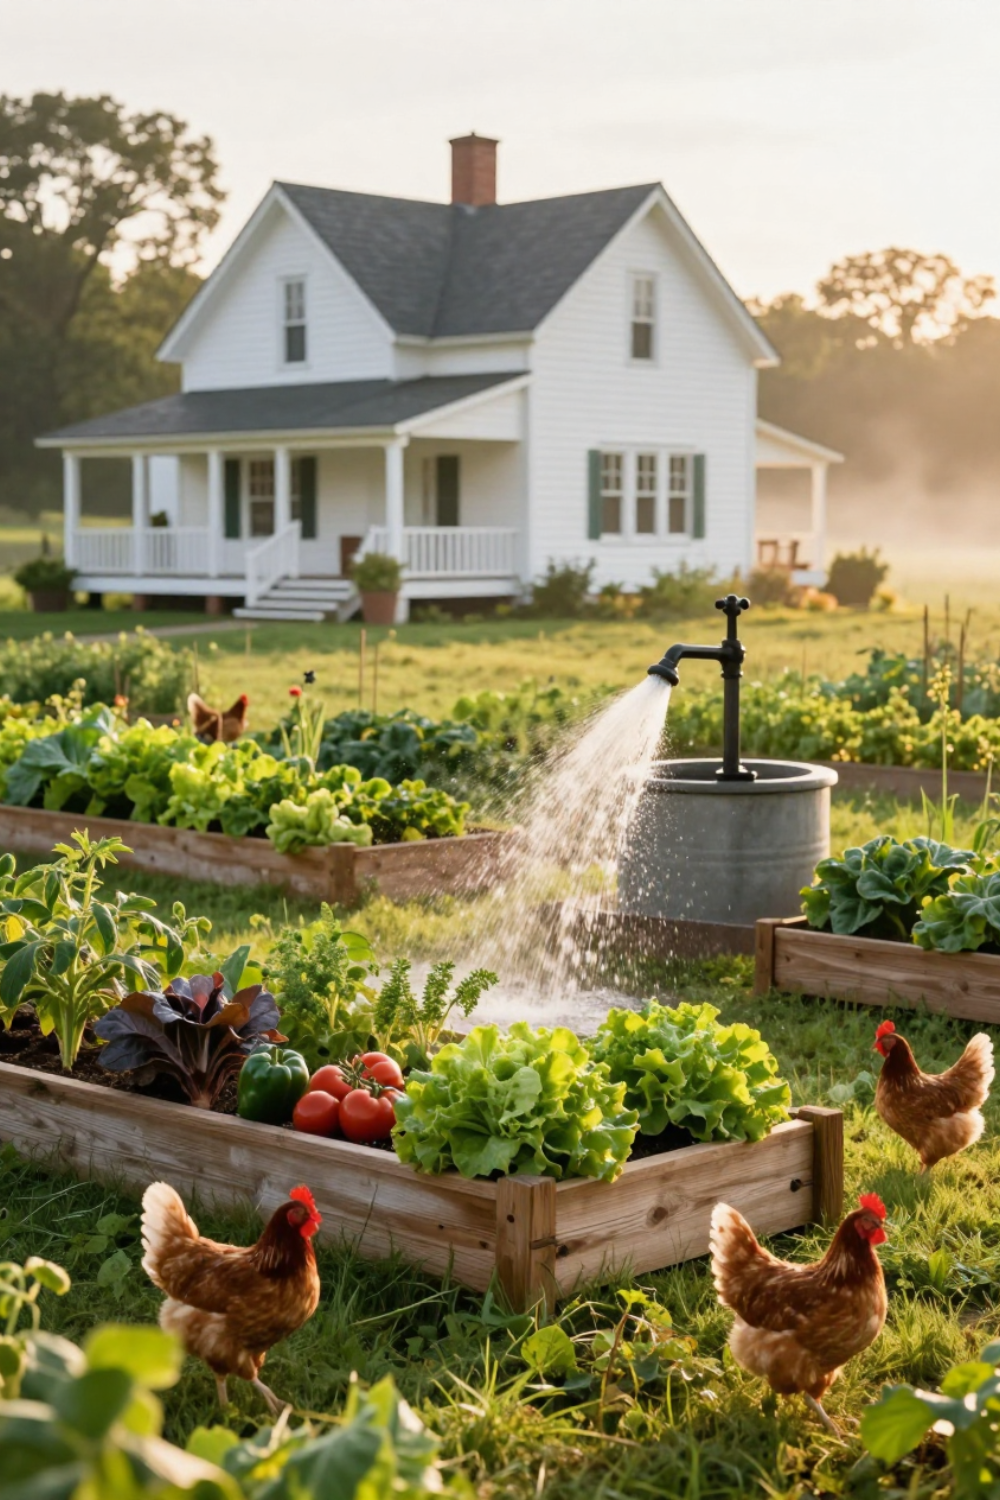
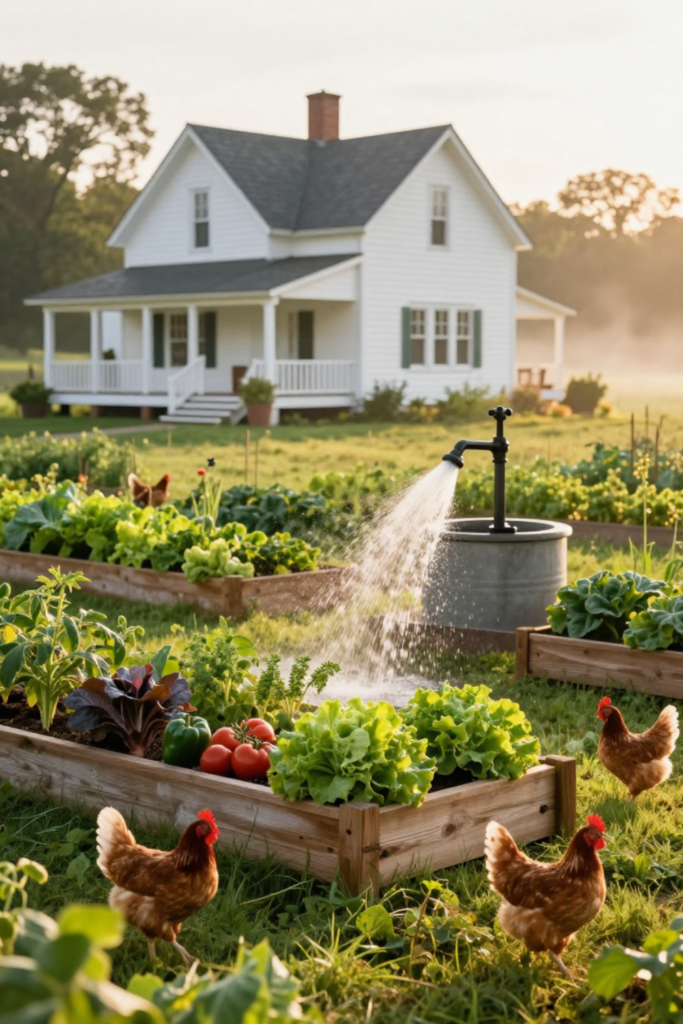
Water Your Garden Without Constantly Watching the Meter
A productive vegetable garden requires consistent watering, particularly during hot, dry weather.
Many people connected to municipal water delay watering simply because they’re worried about the next utility bill.
Having a well provides greater flexibility for irrigation. While you’ll still need to manage your water responsibly, you’re no longer paying for every gallon used to keep your crops healthy.
For anyone working toward food independence, this can be one of the biggest advantages of owning a private well.
Greater Independence During Emergencies
Storms, drought restrictions, aging infrastructure, and unexpected service interruptions can all affect municipal water systems.
Although a private well isn’t immune to every situation—and many systems still depend on electricity to operate—it gives property owners greater control over their own water supply.
Many homesteaders see this additional resilience as an important part of emergency preparedness.
More Control Over Water Quality
Municipal water is treated according to local regulations, but many homeowners prefer knowing exactly how their water is filtered and managed.
With a private well, regular testing allows you to understand your water quality and decide whether additional treatment, filtration, or softening is appropriate for your household’s needs.
Routine testing remains essential to ensure the water stays safe over time.
Increased Property Value
In many rural areas, a properly constructed well is considered a valuable long-term asset.
A dependable private water supply can make a property more attractive to future buyers, particularly where municipal water service is limited or unavailable.
While the exact impact varies by location and market conditions, a quality well often contributes to the overall usefulness and appeal of a homestead.
A Step Toward True Self-Sufficiency
Most people begin homesteading to become less dependent on outside systems.
They grow food instead of buying everything at the grocery store. They compost kitchen scraps instead of throwing them away. They preserve harvests for future use.
A private well follows the same philosophy.
It doesn’t make a homestead completely independent, but it reduces reliance on external utilities and gives you greater control over one of life’s most essential resources.
For many families, that’s what makes installing a well one of the most meaningful long-term investments they can make.
Types of Wells: Which One Is Right for Your Property?
Choosing the right type of well is one of the most important decisions you’ll make before starting a drilling project. The best option depends on several factors, including your property’s geology, the depth of the groundwater, your budget, local regulations, and your long-term water needs.
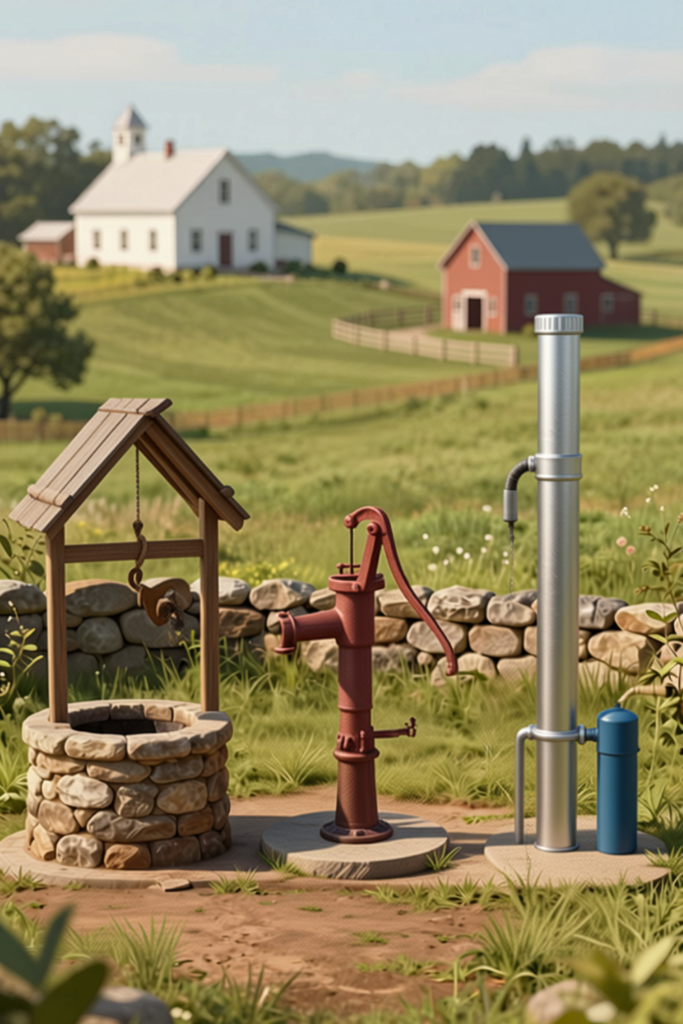
While there are several methods of accessing groundwater, most residential wells fall into one of three categories: dug wells, driven wells, and drilled wells.
Each has its own advantages, limitations, and ideal use cases.
Quick Comparison
| Well Type | Typical Depth | Typical Cost | Lifespan | Best For |
| Dug Well | 10–30 ft | $2,000–$6,000 | 30–50 years | High water table, low-budget projects |
| Driven Well | 20–50 ft | $500–$3,000 | 20–40 years | Sandy soils with shallow groundwater |
| Drilled Well | 100–500+ ft | $5,000–$15,000+ | 40–100+ ye |
1. Dug Wells
Dug wells are the oldest type of private well and have been used for centuries. They are created by excavating a large-diameter hole until it reaches the water table, then reinforcing the walls with stone, brick, or precast concrete rings.
Because they draw water from relatively shallow groundwater, dug wells are generally less expensive than deeper alternatives.
Advantages
- Lower installation cost.
- Simple construction.
- Suitable where groundwater is close to the surface.
Limitations
- More vulnerable to contamination from surface runoff.
- Greater risk of drying out during extended droughts.
- Typically produce lower water volumes than deeper wells.
Best suited for: Properties with consistently high water tables and favorable soil conditions.
Beginner Tip: Even if a dug well provides enough water today, consider your property’s long-term needs. Expanding a garden or adding livestock can significantly increase daily water demand.
2. Driven Wells
Driven wells use a narrow pipe fitted with a screened point that is driven into sandy or gravel-rich soil until it reaches groundwater.
Because they require fewer materials and less specialized equipment, they are often among the most affordable private well options.
Advantages
- Lower installation cost.
- Faster installation.
- Works well in sandy or gravel soils.
Limitations
- Limited depth.
- Not suitable for rocky or clay-heavy ground.
- Usually provides lower flow rates than drilled wells.
Best suited for: Areas with shallow groundwater and loose, permeable soil.
3. Drilled Wells (The Most Common Modern Choice)
Drilled wells are the standard choice for most new homesteads and rural homes.
Using specialized drilling equipment, contractors bore a narrow hole deep into an underground aquifer before installing a protective casing and sealing the space around it to help reduce the risk of surface contamination.
Although drilled wells generally require the highest initial investment, they typically provide the greatest reliability over the long term.
Advantages
- Access to deeper, more dependable aquifers.
- Better protection against contamination.
- Higher water production.
- Longer service life.
- Often required or preferred under modern building regulations.
Limitations
- Higher upfront cost.
- Professional drilling equipment is often required.
- Installation time depends on local geology.
Best suited for: Homeowners looking for a dependable, long-term water supply for a home, garden, livestock, or full homestead.
Pro Tip: A deeper well does not automatically mean better water. The ideal depth depends on local geology and the characteristics of the aquifer beneath your property.
Which Type of Well Is Best?
For most modern homesteads, a drilled well offers the best balance of reliability, water quality, longevity, and consistent production.
However, that doesn’t mean it’s the right choice for every property.
Before making a decision, consider:
- Your local groundwater depth.
- Soil and rock conditions.
- Expected daily water use.
- Local permit requirements.
- Your available budget.
- Whether professional drilling or a DIY approach is practical for your situation.
Taking time to evaluate these factors before drilling can help you avoid costly mistakes and ensure your well meets your family’s needs for years to come.
How Much Does It Cost to Drill a Well?
For most homeowners, cost is the biggest question when planning a private well.
The answer isn’t always straightforward because every property is different. Ground conditions, drilling depth, local labor rates, permit fees, and equipment selection can all influence the final price.
A shallow well in sandy soil may cost only a few thousand dollars, while a deep drilled well through solid bedrock can cost significantly more.
The important thing is understanding where your money goes before requesting quotes or starting the project.
Typical Cost Breakdown
| Item | Typical Cost |
| Well drilling permit | $100–$500 |
| Drilling (per foot) | $30–$65 |
| Well casing | $5–$15 per foot |
| Well screen | $200–$600 |
| Grouting and sealing | $500–$2,000 |
| Submersible well pump | $500–$2,000 |
| Pressure tank | $300–$800 |
| Electrical and plumbing connections | $500–$2,000 |
| Initial water testing | $100–$500 |
Estimated Total
For a 300-foot drilled well, most homeowners can expect a total project cost between:
$12,000–$25,000
Actual costs vary depending on your location, drilling depth, geology, and equipment requirements.
Why Costs Vary So Much
Many first-time homesteaders are surprised that drilling itself is only one part of the project.
Several factors influence the final investment.
Property Geology
Soft soils are generally easier and faster to drill than hard rock formations.
If the drilling crew encounters granite or other dense bedrock, both drilling time and equipment wear may increase the overall cost.
Well Depth
The deeper the well, the more materials and labor are required.
Additional casing, longer drilling time, and larger pumps all contribute to higher project costs.
Pump and Equipment Quality
A well is only as reliable as the equipment connected to it.
Choosing a quality submersible pump, properly sized pressure tank, and durable piping may increase the initial investment but can reduce maintenance costs over time.
Permits and Local Requirements
Many jurisdictions require permits, inspections, minimum setback distances, and licensed contractors.
These requirements vary significantly by location and should always be factored into your budget.
Don’t Forget the Ongoing Costs
Although a private well eliminates monthly water bills, it isn’t completely maintenance-free.
Homeowners should budget for:
- Periodic water quality testing.
- Pump maintenance or eventual replacement.
- Pressure tank servicing.
- Electrical repairs if needed.
- Occasional well inspections.
Fortunately, these costs are usually far lower than paying municipal water bills year after year.
Beginner Tip
Don’t automatically choose the lowest quote.
Ask each contractor:
- How deep do they expect to drill?
- What type of casing will they install?
- Is grouting included?
- Is the pump included?
- Does the quote include water testing?
- What warranty is provided?
A higher quote often includes better materials, more complete installation, or stronger warranty coverage.
Looking Beyond Professional Drilling
Hiring a licensed drilling company is the most common option, but it isn’t the only one.
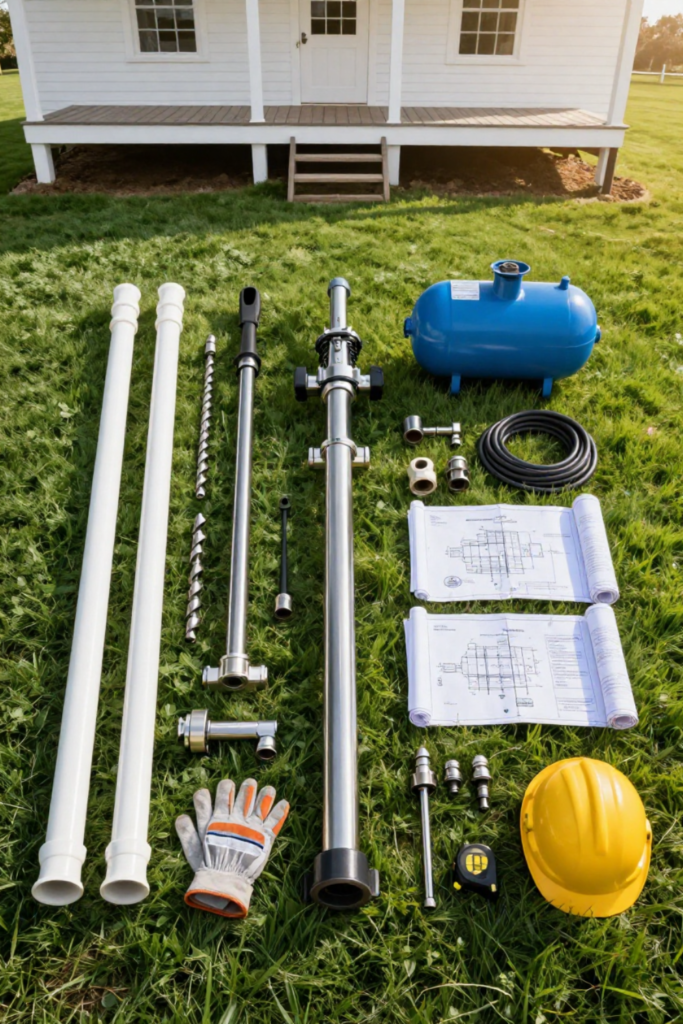
Depending on your local regulations, soil conditions, and experience level, some homesteaders explore DIY well-drilling systems as a way to reduce installation costs. These systems require careful planning and aren’t suitable for every property, but they can be worth considering before making a final decision.
Before You Drill: What You Need to Know
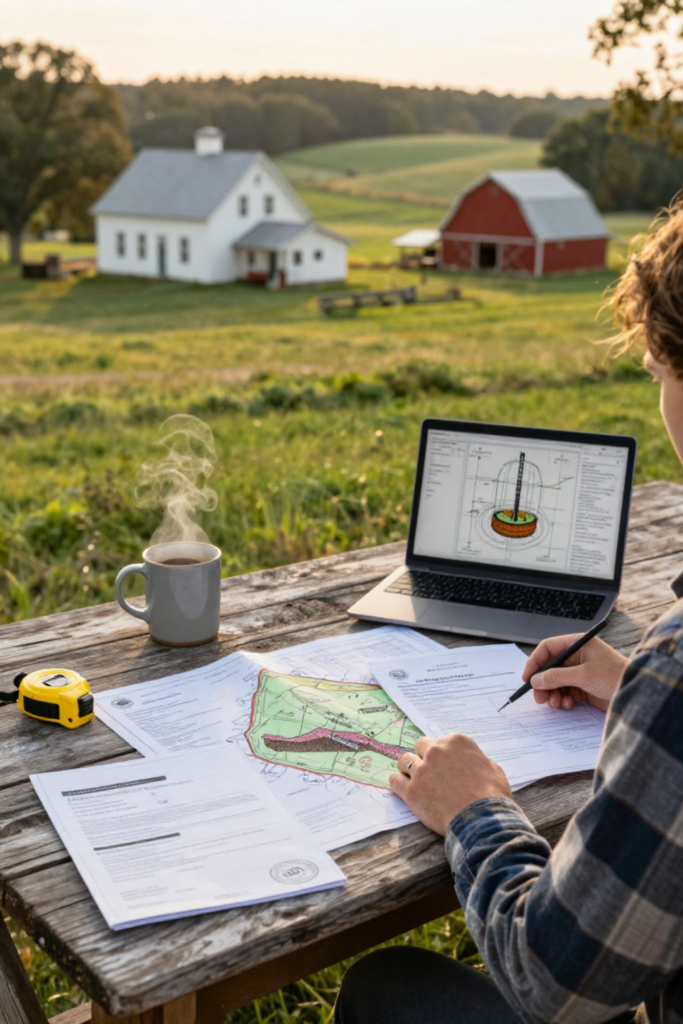
Drilling a well is a major investment, and success depends on much more than simply finding groundwater. Taking the time to plan your project carefully can help you avoid unnecessary expenses, delays, and costly mistakes.
Before scheduling a drilling crew—or considering a DIY approach—work through the following checklist.
1. Understand Your Local Regulations
Well drilling is regulated in most states, counties, and municipalities. Requirements vary widely depending on where your property is located.
Before drilling, find out:
- Whether a drilling permit is required.
- If only licensed contractors are allowed to drill wells.
- Minimum setback distances from septic systems, buildings, and property lines.
- Water quality testing requirements.
- Inspection requirements after installation.
Skipping permits or failing to meet local regulations can result in fines, delays, or even having to abandon the well.
Pro Tip: Contact your local environmental or health department before requesting drilling quotes. They can explain the requirements that apply to your property.
2. Learn About Your Property’s Geology
No two properties are exactly alike.
The type of soil and rock beneath your land determines:
- How deep the well may need to be.
- The drilling method that is most appropriate.
- The expected drilling cost.
- The potential water yield.
For example:
- Sandy and gravel-rich soils are generally easier to drill.
- Clay may slow drilling progress.
- Solid bedrock often requires specialized equipment and increases project costs.
If neighboring properties have private wells, their depth and water production can provide useful clues, although they do not guarantee identical conditions on your land.
3. Estimate Your Water Needs
A well should meet both your current needs and any future plans for your homestead.
Think beyond everyday household use.
Consider whether you plan to:
- Expand your vegetable garden.
- Install irrigation systems.
- Raise chickens or livestock.
- Add greenhouses.
- Plant orchards.
- Build additional structures.
Planning for future demand now may help you avoid expensive upgrades later.
4. Test the Water After Drilling
A newly drilled well should always be tested before being used as a primary drinking water source.
Typical tests include:
- Coliform bacteria.
- Nitrates.
- pH.
- Water hardness.
- Iron and manganese.
- Arsenic (where applicable).
- Lead (where applicable).
Even after your well is in service, periodic testing helps ensure your water remains safe over time.
5. Think About Long-Term Maintenance
Installing a well isn’t the end of the project—it’s the beginning of owning a private water system.
A well lasts much longer when it is properly maintained.
Good maintenance includes:
- Annual visual inspections.
- Periodic water testing.
- Protecting the wellhead from flooding and debris.
- Servicing pumps when necessary.
- Keeping accurate maintenance records.
Routine maintenance helps prevent small issues from becoming expensive repairs.
Your Pre-Drilling Checklist
Before moving forward, make sure you can answer “Yes” to each of these questions:
☐ Have I checked local well-drilling regulations?
☐ Do I understand my property’s geology?
☐ Have I estimated my current and future water needs?
☐ Do I know the expected drilling depth?
☐ Have I budgeted for permits, equipment, and maintenance?
☐ Do I have a plan for water quality testing?
☐ Have I compared professional drilling with DIY options?
Completing this checklist before drilling can save both time and money while increasing the chances of a successful project.
Choosing the Right Well Pump
Drilling the well is only part of building a dependable water system.
Once groundwater has been reached, you’ll need a pump capable of delivering water safely and consistently to your home, garden, or livestock.
Choosing the right pump affects everything from water pressure and energy efficiency to long-term maintenance and operating costs.
The best option depends primarily on the depth of your well and your daily water demand.
Submersible Pumps (The Most Common Choice)
Submersible pumps are installed inside the well below the water level.
Rather than pulling water upward, they push it to the surface, making them highly efficient for deep wells.
Because they remain underwater during operation, submersible pumps are generally quieter, better protected from weather, and capable of supplying larger volumes of water.
Advantages
- Excellent for deep wells.
- High water flow.
- Quiet operation.
- Energy efficient.
- Long service life (typically 15–25 years with proper maintenance).
Considerations
- Higher purchase cost.
- Installation usually requires lifting equipment.
- Repairs often require removing the pump from the well.
Best for: Most drilled wells serving full-time homes and homesteads.
Jet Pumps
Jet pumps remain above ground, usually inside a pump house, basement, or utility room.
Instead of pushing water, they create suction to draw water upward.
Because suction becomes less effective with increasing depth, jet pumps are generally recommended only for relatively shallow wells.
Advantages
- Lower initial cost.
- Easier access for maintenance.
- Simpler installation.
Considerations
- Less efficient than submersible pumps.
- Louder during operation.
- Limited depth capability.
Best for: Shallow wells under approximately 50 feet.
Which Pump Is Right for Your Homestead?
For most modern homesteads with drilled wells, a submersible pump is the preferred choice because it offers better efficiency, reliability, and performance over the long term.
However, every property is different.
When selecting a pump, consider:
- Total well depth.
- Static water level.
- Household water demand.
- Irrigation requirements.
- Livestock needs.
- Electrical availability.
- Future expansion plans.
Installing a properly sized pump from the beginning can improve performance while reducing unnecessary wear on the system.
Don’t Forget the Pressure Tank
A pressure tank works together with the pump to maintain consistent water pressure throughout your plumbing system.
Without one, the pump would need to start every time a faucet is opened, significantly increasing wear and reducing its lifespan.
A properly sized pressure tank helps:
- Maintain steady water pressure.
- Reduce pump cycling.
- Improve energy efficiency.
- Extend pump life.
- Provide smoother water flow throughout the home.
Although it often receives less attention than the pump itself, the pressure tank is an essential part of a reliable well system.
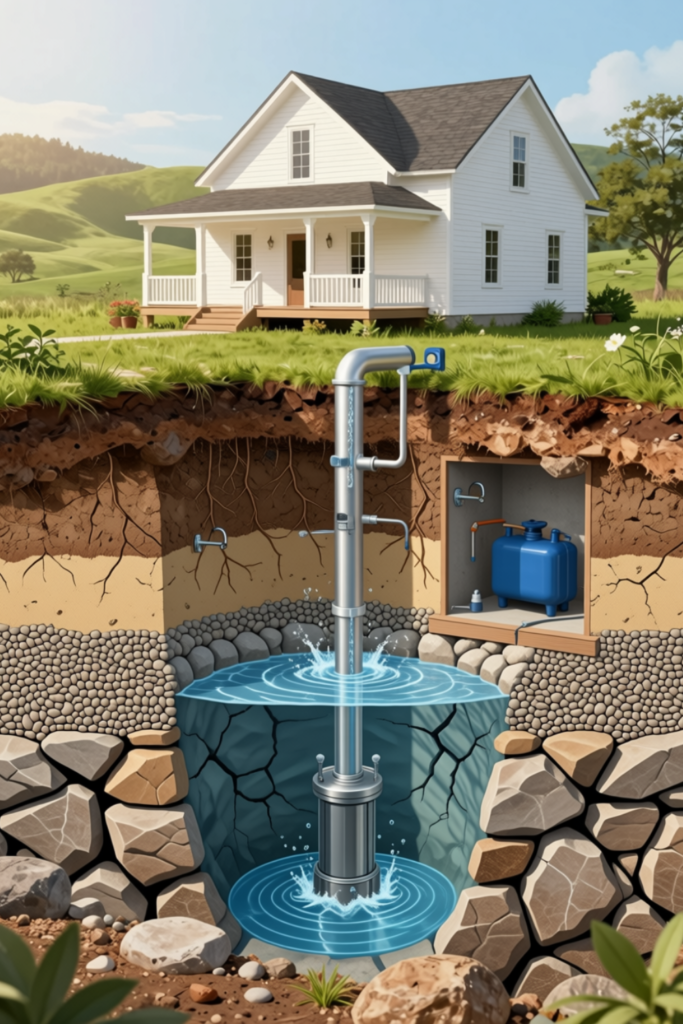
Planning Your Entire Well System
A successful private well isn’t just a hole in the ground.
It’s a complete water system made up of several components working together, including:
- The well itself.
- Protective casing.
- Well screen.
- Pump.
- Pressure tank.
- Plumbing connections.
- Electrical supply.
- Water treatment or filtration (if needed).
Thinking about the system as a whole helps avoid compatibility issues and unexpected expenses later in the project.
Professional Drilling vs. DIY: Which Option Makes Sense?
After understanding the costs, regulations, equipment, and planning involved, you’ll likely arrive at one important question:
Should you hire a professional drilling company, or is drilling your own well a realistic option?
The answer depends on your property’s conditions, local regulations, your budget, and your level of experience.
For many homeowners, hiring a licensed contractor remains the simplest and most practical solution. Professional drillers have specialized equipment, experience with local geology, and knowledge of permitting requirements.
However, that isn’t the only path.
In some areas where regulations allow it—and where soil conditions are suitable—some homesteaders choose to drill their own wells using specialized DIY drilling systems.
For the right project, this approach can significantly reduce installation costs while giving homeowners greater control over the process.
When Professional Drilling Is the Better Choice
Hiring a professional is often the best option if:
- Your property has difficult geology or deep bedrock.
- Local regulations require licensed contractors.
- You have limited time or equipment.
- Your project requires a high-capacity residential well.
- You prefer a fully managed installation.
Professional drilling provides experience and convenience, though it usually comes with a higher upfront cost.
When DIY Well Drilling May Be Worth Considering
A DIY approach isn’t suitable for every property, but it can be an option if:
- Local regulations allow owner-installed wells.
- Your soil conditions are appropriate.
- You’re comfortable operating equipment.
- You have the time to complete the project.
- Reducing installation costs is an important priority.
As with any construction project, careful planning and a clear understanding of local requirements are essential before getting started.
A Popular DIY Well Drilling System
One option that has become popular among homesteaders is Joseph’s Well.
Rather than hiring a full-scale drilling crew, the system is designed for property owners who want to explore drilling their own well where local regulations and ground conditions make that approach practical.
According to the product information, the system is intended to help users drill wells in suitable soil conditions while providing guidance on the equipment and process involved.
Potential advantages include:
- Designed for DIY use.
- Lower upfront cost than many professionally drilled wells.
- Intended for use by individuals or small teams.
- A structured approach for suitable projects.
Like any DIY construction project, success depends on choosing an appropriate location, understanding local regulations, and following the instructions provided with the system.
Is Joseph’s Well Right for You?
Joseph’s Well may be worth considering if you:
- Want to reduce the cost of installing a private well.
- Enjoy hands-on homestead projects.
- Have a property with favorable drilling conditions.
- Have confirmed that DIY well drilling is permitted in your area.
On the other hand, if your property requires very deep drilling, complex geological work, or local regulations require licensed contractors, hiring a professional may still be the better choice.
Choosing the right approach depends on your specific circumstances—not every solution fits every property.
Thinking About Exploring the DIY Option?
If you’re interested in learning more about how the Joseph’s Well system works, it’s worth reviewing the product information to understand what it includes, the types of projects it’s designed for, and whether it matches your property’s conditions and local regulations.
👉 Learn More About Joseph’s Well
Final Thoughts: Is a Private Well Worth It?
For many homesteaders, a private well is more than just a water source—it’s an investment in long-term independence.
While the upfront cost of drilling a well can be significant, many property owners find that the benefits outweigh the initial expense. Reliable access to water can support your household, garden, livestock, and future homestead projects for decades.
That said, every property is unique.
Before starting your project, take time to:
- Research your local regulations.
- Understand your property’s geology.
- Estimate your long-term water needs.
- Compare professional drilling with DIY options.
- Plan your complete well system—not just the well itself.
Making informed decisions now can help you avoid unnecessary costs and create a water system that serves your family for years to come.
If you’ve determined that a DIY approach is appropriate for your property and permitted in your area, learning more about specialized systems such as Joseph’s Well can help you evaluate whether that option fits your goals.
Whether you choose professional drilling or decide to explore a DIY solution, careful planning is the key to building a dependable, long-lasting private well.
Frequently Asked Questions
How much does it cost to drill a well?
Costs vary depending on location, geology, and depth. In many parts of the United States, residential wells typically cost several thousand dollars, with deeper wells requiring larger investments.
How deep should a private well be?
There is no standard depth. Some wells reach water at less than 100 feet, while others may need to be drilled several hundred feet depending on local groundwater conditions.
Can I drill my own well?
In some locations, yes. However, regulations vary by state and county. Always verify local laws and permitting requirements before beginning any drilling project.
What type of well lasts the longest?
Properly constructed drilled wells generally have the longest service life and often provide the most reliable water supply when maintained correctly.
How often should well water be tested?
Many homeowners test their well water annually, as well as after flooding, repairs, or any noticeable changes in water quality.
Do I need a permit to drill a well?
In many jurisdictions, yes. Permit requirements differ by state, county, and municipality, so check with your local authorities before starting any project.
Ready to Learn More?
If you’re exploring ways to create a more self-sufficient homestead and want to understand whether a DIY well is a practical option for your property, you can learn more about the Joseph’s Well system below.
👉 Learn More About Joseph’s Well
Conclusion: Investing in Your Homestead’s Future

A private well can be one of the most valuable improvements you make to your homestead. Beyond reducing dependence on municipal water, it provides greater resilience, supports food production, and gives you more control over one of life’s most essential resources.
While installing a well requires careful planning and a financial investment, the long-term benefits often extend far beyond the initial cost. Whether your goal is to lower utility bills, irrigate a thriving garden, prepare for emergencies, or simply become more self-sufficient, a reliable water source can make those goals much more attainable.
Before starting your project, take the time to understand your local regulations, evaluate your property’s geology, estimate your future water needs, and choose the approach that best fits your situation. For some homesteaders, that will mean working with a professional drilling company. For others—where local laws permit and site conditions are appropriate—a DIY solution may be a practical alternative.
If you’re interested in exploring the DIY route, Joseph’s Well offers detailed guidance designed to help property owners understand the drilling process and determine whether it’s a suitable option for their land.
No matter which path you choose, planning ahead is the key to building a dependable water system that can serve your family, your garden, and your homestead for many years to come.